In part 1 of my series on using Windows Azure as a disaster recovery site, I explained how to create a site-to-site VPN using Windows Server 2012 R2 Routing and Remote Access (RRAS). Now that the two sites are connected, I’m going to walk you through the steps required deploy your first VM in the Windows Azure IaaS Cloud and add it to your on-premise network as a Domain Controller. I will assume you have already done the following:
- Have a functioning on-premise Active Directory
- Have complete the steps to create a site-to-site VPN connecting your on-premise datacenter to the Azure Cloud and the VPN is connected.
- Have created an Azure account and are familiar with logging in and basic management features
At this point we are ready to stat. Open the Windows Azure Portal. You should minimally see the Virtual Network the we previously created listed when you select the “All Items” category on the left.

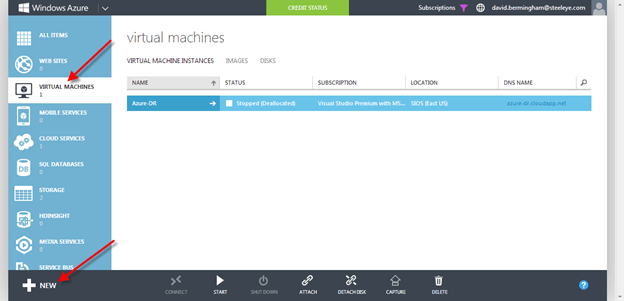
To provision your first VM, click on the “Virtual Machines” in the left hand navigation pane and click “+New” in the bottom left hand corner.
For our purposes, we are going to create a new virtual machine from the gallery.

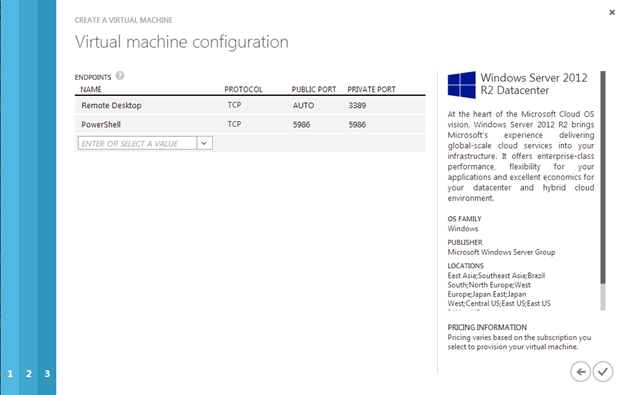
We will use the Windows Server 2012 R2 Datacenter Image.

Pick your machine size, username and password.

The next step has you create a “Cloud Service”, “Storage Account” and Availability Set. It also asks you where to place the VM. We will choose the Virtual Network that you previously created when you created your site-to-site VPN. We will create a new Cloud Service and Storage Account. The rest of the VMs we will create later will make use of the different accounts we create this first time through.

The final page lists the ports where you can administer this VM, but I’ll show you an easy way to RDP to it in just a moment.
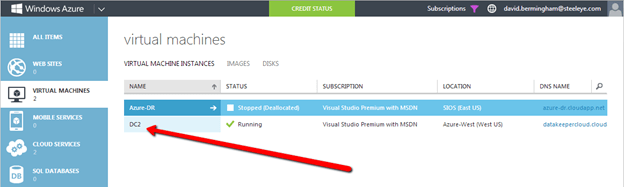
Once the VM is provisioned it should look something like this.
If you click on the VM’s name you will be taking to the VM’s welcome screen where you can learn more about managing the VM
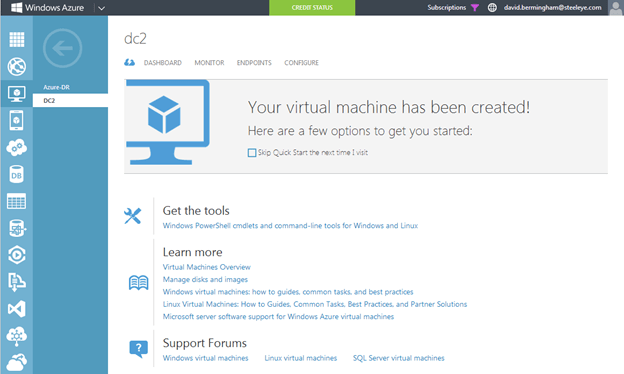
Click on Dashboard, this will give you some detail information about your VM. From here you will be able to click on the Connect button and launch an RDP session to connect to the running VM

Using the username and password you specified when you provisioned the VM, use the RDP session that opens when you click Connect to log in to the provisioned VM. Once connected, you will notice that the VM has a single NIC and it is configured to use DHCP. This is expected and DHCP is required. The VM will maintain the same internal IP address throughout the life of the VM through a DHCP reservation. Static IP addresses are NOT support, even though it may appear to work for a while should you change it to a static IP.
Also notice that if you configured you Virtual Network as I described in my first post, the DNS server should point to the DC/DNS Server that resides in your onsite network. This will ensure that we are able to add this server to the on-premise domain in the next step.
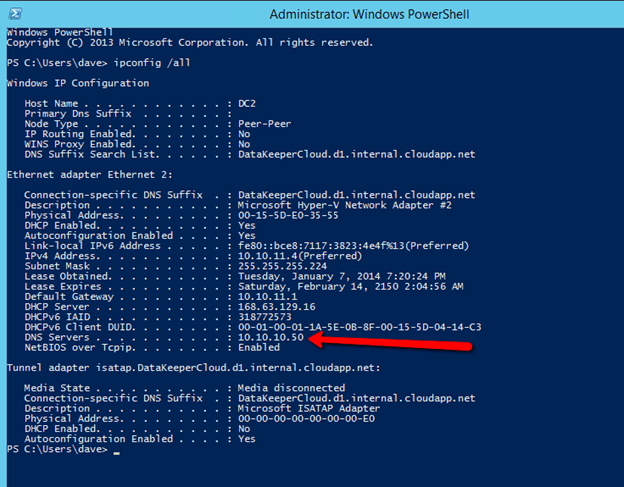
Assuming your VPN is connected to the Gateway as shown below, you should be able to ping the DNS server on the other side of the VPN.

Ping the DNS server to verify network communication between the Azure Cloud and your on-premise network.

At this point you are able to add this server as a second Domain Controller to your domain, just as you would any other typical domain controller. I’m going to assume you know to add a Domain Controller to an Existing Domain and are familiar with other best practices when it comes to AD design and deployment.
The last step I recommend you update your Azure Virtual Private Network to specify this new DC as the Primary DNS Server and use the other on-premise DC as your secondary domain controller.
Click on Networks, then the name of the Virtual Private Network you want to edit.

Add the new DNS server to the list and click Save
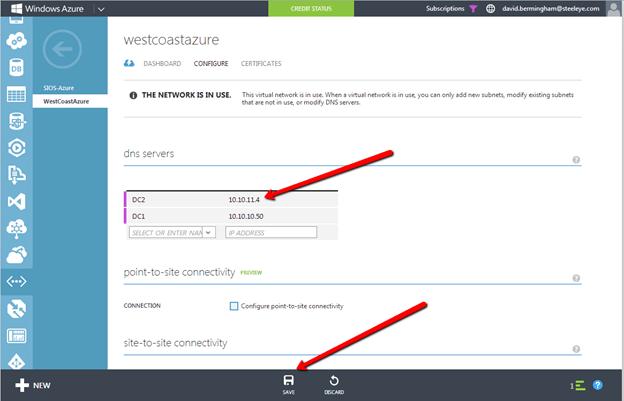
From this point on when you configure servers in this Virtual Private Network, the VMs will be automatically configure with two DNS servers.
In Part 3 of my series on configuring Windows Azure for High Availability and Disaster Recovery we will look at deploying a highly available SQL Server Failover Cluster Instance in the Windows Azure Cloud using the host based replication solution call DataKeeper Cluster Edition.

[…] https://clusteringformeremortals.com/2014/01/07/extending-your-datacenter-to-the-azure-cloud-azure/ […]
[…] Extending Your Datacenter to the Azure Cloud #Azure […]
[…] even our own private data center. I recently wrote a step-by-step article that explains how to extend your on premise datacenter to the Azure Cloud. Once you have your datacenter connected to Windows Azure, you can either configure AlwaysOn […]
[…] If you are considering a Hybrid Cloud deployment where you stretch your on premise network to the Azure Cloud for disaster recovery purposes, you may want to review my blog post below. https://clusteringformeremortals.com/2014/01/07/extending-your-datacenter-to-the-azure-cloud-azure/ […]