Q. What is a SANLess cluster?
A. It is a cluster that uses local storage instead of a SAN.
Q. Why would I want a SANLess cluster?
A. There are a few reasons:
- Eliminate the cost of a SAN
- Eliminate the SAN as a single point of failure
- Take advantage of high speed storage options such a Fusion-io ioDrives and other high speed storage devices that plug in locally
- Stretch the cluster across geographic locations for disaster recovery
- Simplify management
- Eliminate the need for a SAN administrator
Building a SANLess cluster with DataKeeper Cluster Edition is easy. If you know anything about Windows Server Failover Clustering than you already know 99% of the solution. Even if you have never built a Windows Server Failover Cluster before, don’t worry; Microsoft has made it easy and painless. For the beginners, I have written a step-by-step article that tells you how to build a Windows Server 2012 #SANLess cluster in my blog post here: https://clusteringformeremortals.com/2012/12/31/windows-server-2012-clustering-step-by-step/
If you have followed the steps in my post, you will be at the point where you are ready to create your first highly available virtual machine. There are two options for making a highly available virtual machine. The first option assumes that you have an existing virtual machine that you want to make highly available, and the second option assumes you are building a highly available virtual machine from scratch.
Configuring the DataKeeper Volume Cluster Resource
Because a SANLess Hyper-V cluster requires one VM per volume, you will want to make sure you have your storage partitioned so that you have enough volumes for each VM. The storage on each cluster node should be configured identically in terms of drive letters and partition sizes. Once you have the partitions configured properly and your VM resides on the partition you want to replicate, open the DataKeeper interface and walk through the three step wizard to create the DataKeeper Volume Resources as shown in below.
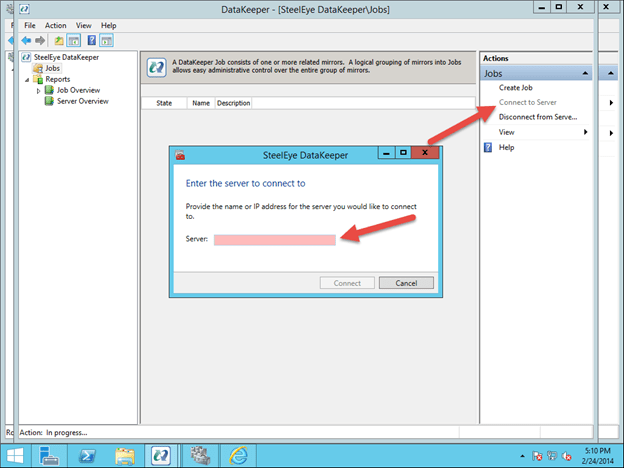
First, open the DataKeeper interface and click on Connect to Server. Do this twice to connect to both servers.
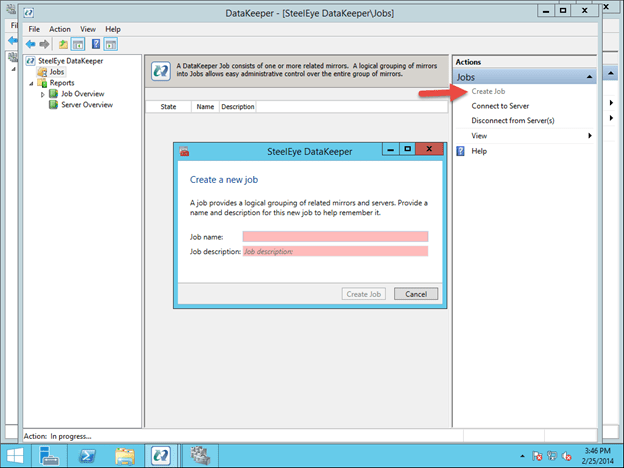
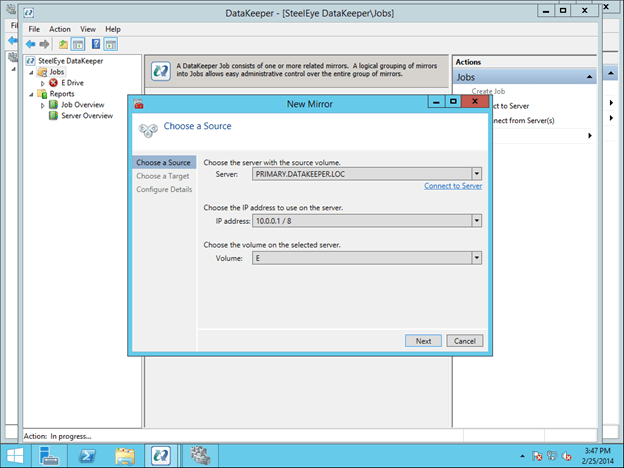
Once you are connected, click on Create Job to create a mirror of the volume that contains the virtual machine you want to make highly available as shown below. In this example we will mirror the E drive.
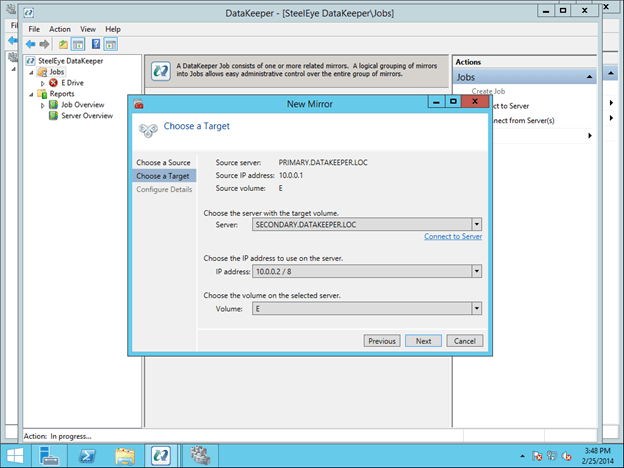
Whenever possible, keep replication traffic on a private network. In this case, we are using the 10.0.0.0/8 network for replication traffic. This can be a simple patch cable that connects the two servers across two unused NICs.
The final screen shows the options available for mirroring. For local area networks, Synchronous mirroring is preferred. When replicating across wide area networks, you will want to use Asynchronous replication and possibly enable compression. I would not limit the Maximum bandwidth as that could potentially cause your mirror to go out of sync if your rate of change (Disk Right Bytes/sec) exceeds the Maximum bandwidth specified. However, you may want to temporarily enable Maximum bandwidth during the initial mirror creation process, otherwise DataKeeper may flood the network with the initial replication traffic as it tries to get in sync as quickly as possible. Both Maximum bandwidth and Compression settings can be adjusted after the mirror is created. However, you cannot change between Synchronous and Asynchronous mirroring once the mirror has been created without deleting the mirror and recreating it.

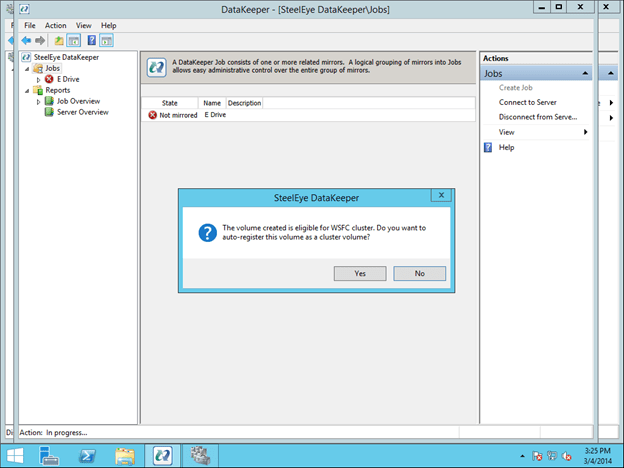
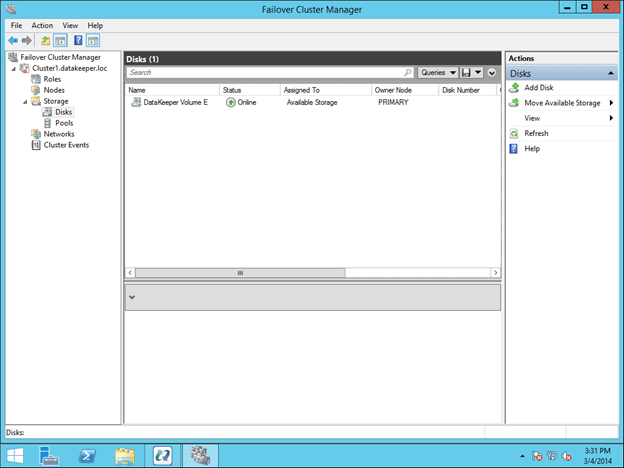
At the end of the mirror creation process you will see a popup asking if you want to auto-register this volume as a cluster volume. Select Yes, this will create a DataKeeper volume resource in Failover Clustering Available Storage.
You are now ready to create your highly available VMs.
Option 1 – Clustering an Existing VM
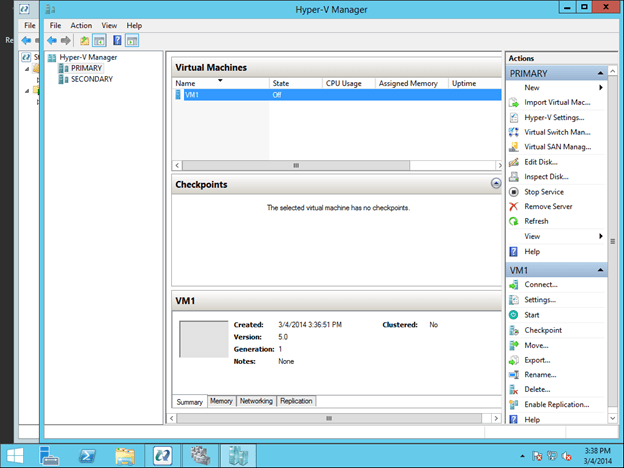
Once again, this procedure assumes you have an existing VM that you want to make highly available. If you do not have an existing VM, you will want to follow the procedure in Option 2 – Creating a Highly Available VM. Otherwise, you should have a VM when looking at Hyper-V Manager as shown below.
All the VM files should already be located on the replicated volume, as shown below. If not, you will have to relocate the files before attempting to cluster the VM.

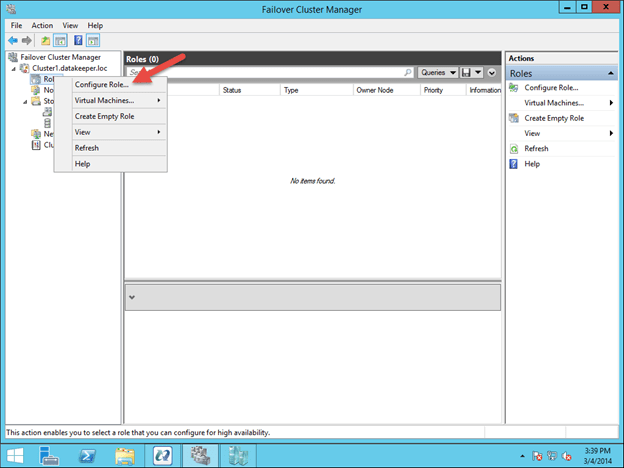
To begin the clustering process, open up Failover Cluster Manager. Right click on Configure Roles and choose Virtual Machine as the role you want to create.
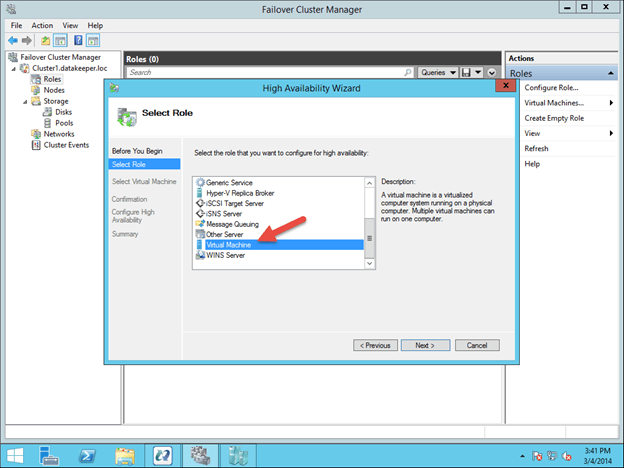
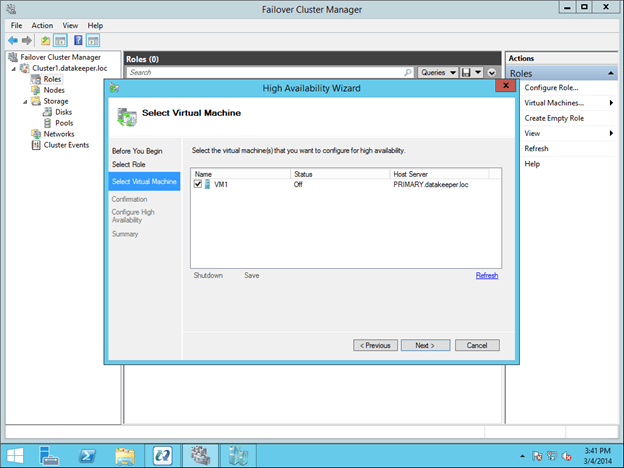
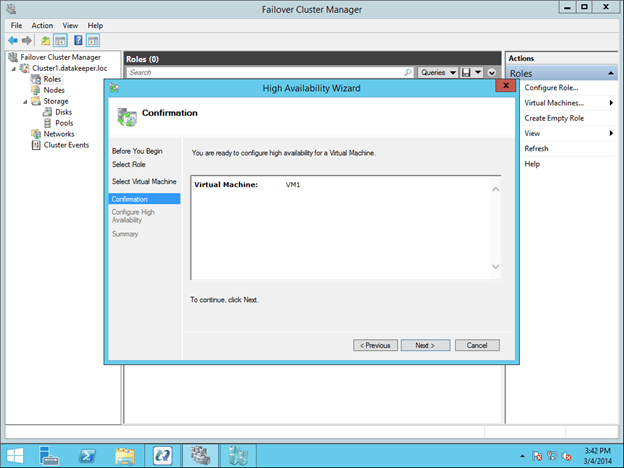
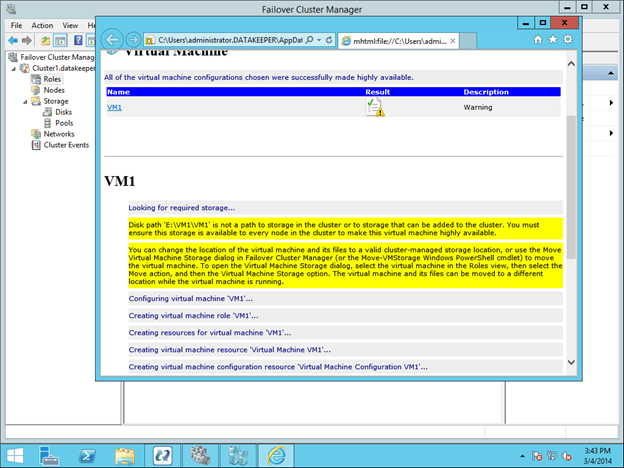
This will launch the High Availability Wizard. At this point you should select the VM that you want to cluster and step through the wizard as shown below.
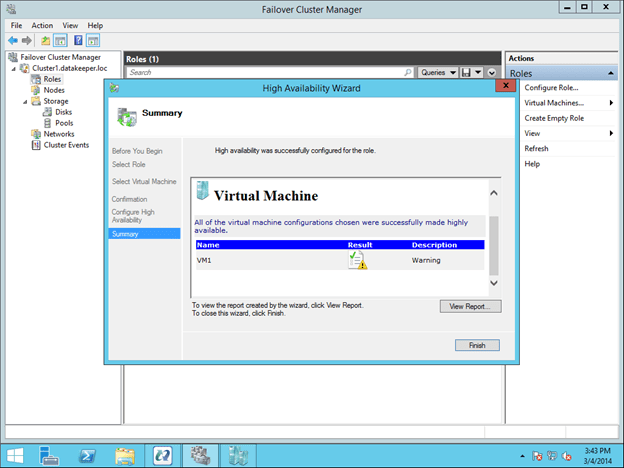
You will see that the VM resource will be created, but there will be some warnings. The warnings indicate that the E drive is not currently part of the VM Cluster Resource Group.
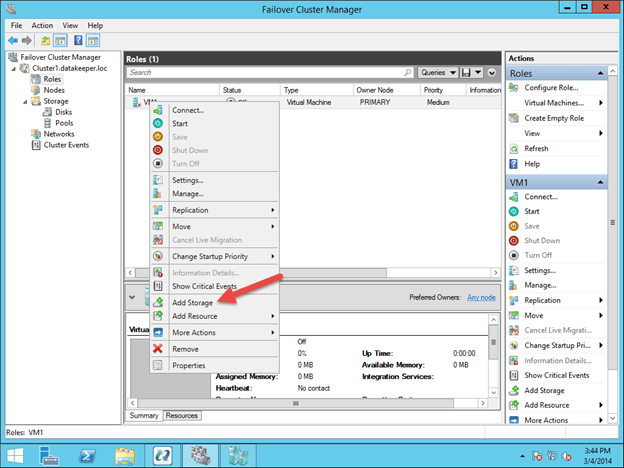
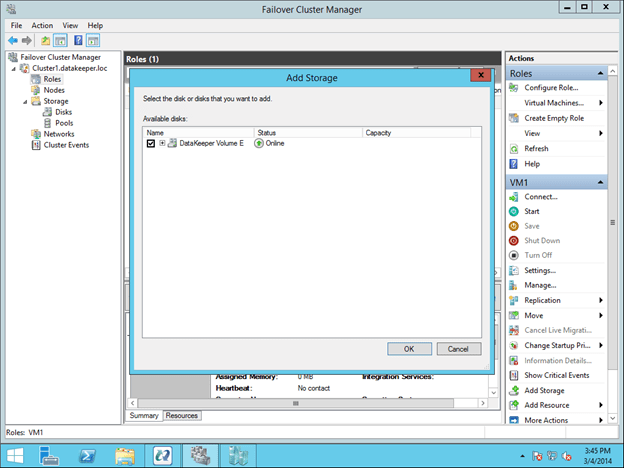
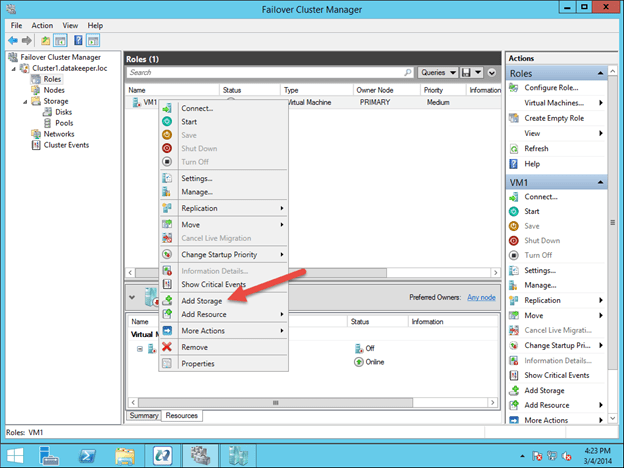
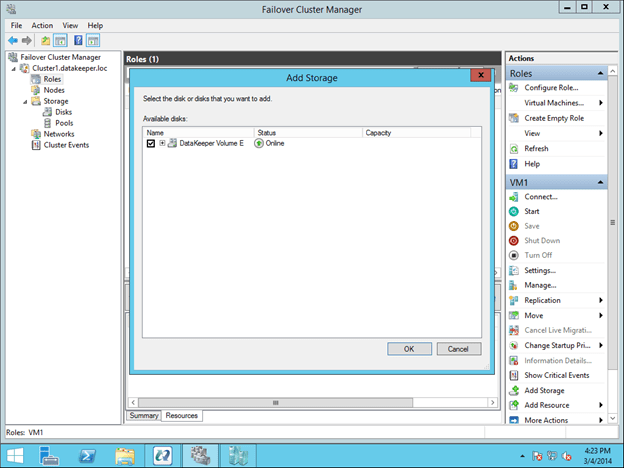
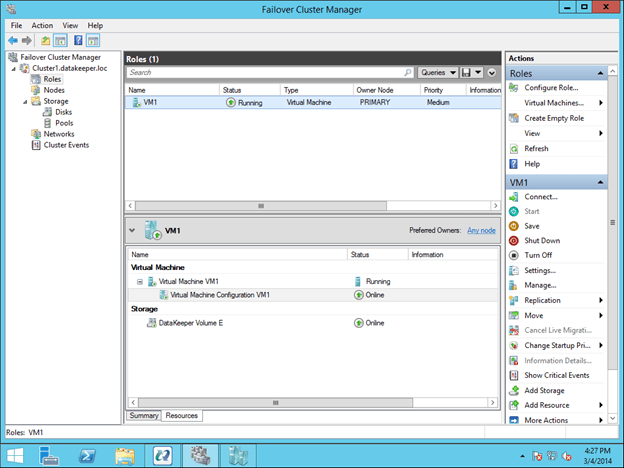
To make the DataKeeper Volume E part of the VM Cluster Resource Group, right click on the role and choose Add Storage. Add the DataKeeper Volume that you will see listed in Available Disks.
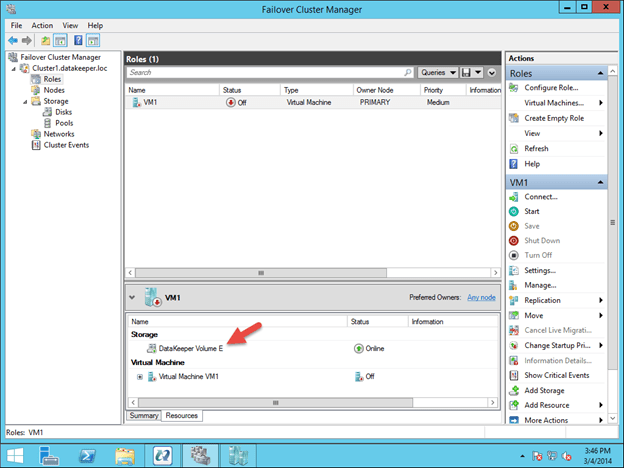
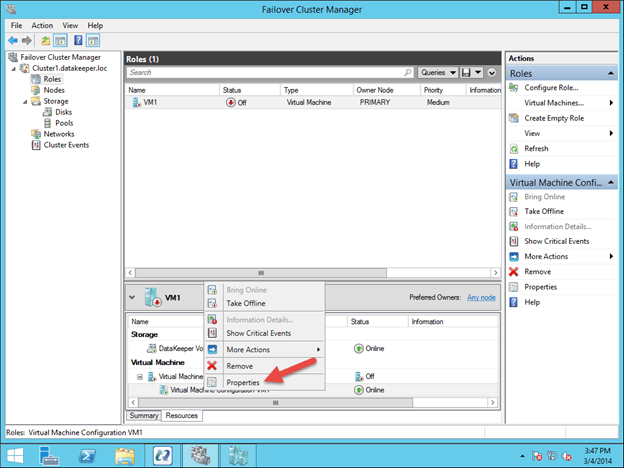
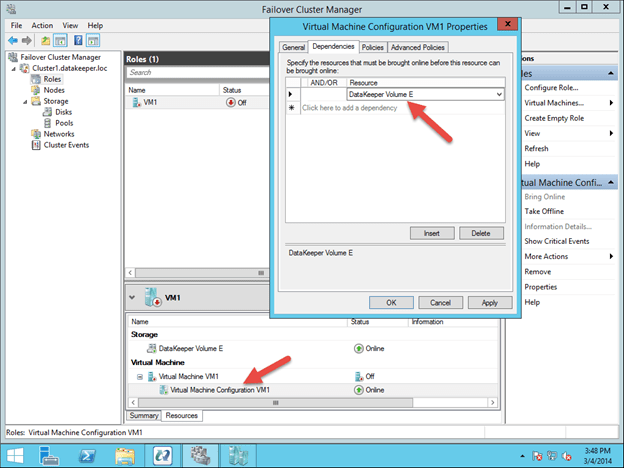
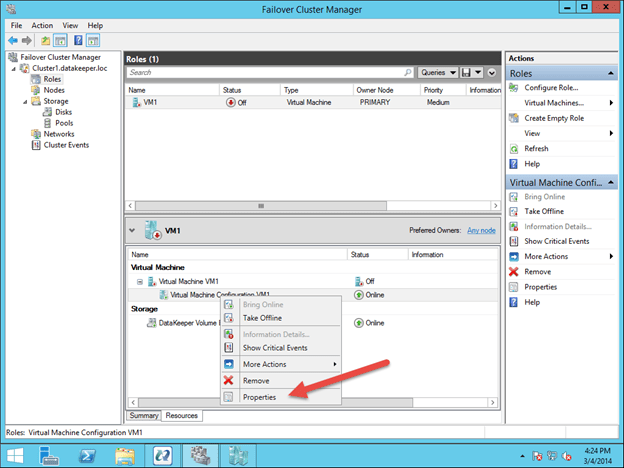
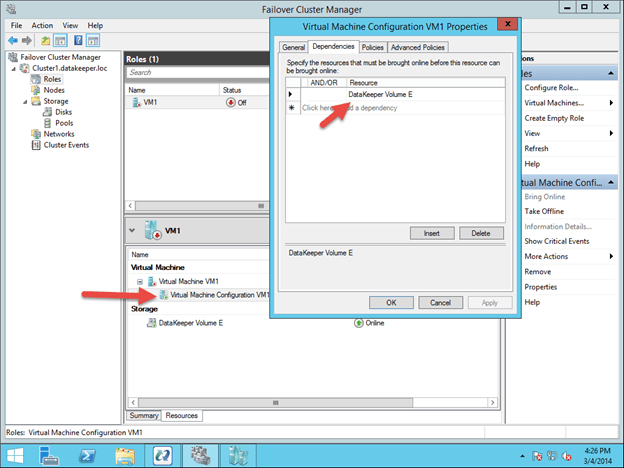
The last part is to choose the Properties of the Virtual Machine Configuration (not the Virtual Machine) resource and make it dependent upon the storage you just added to the resource group.
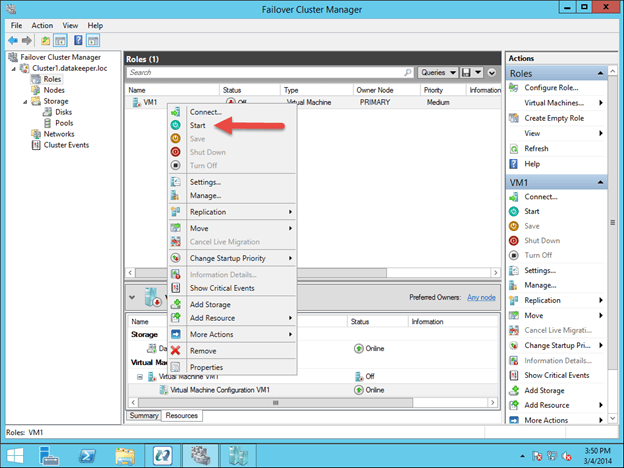
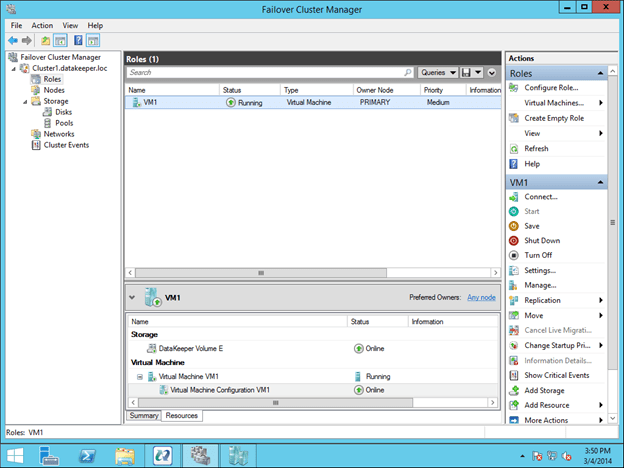
You should now be able to start the VM.
Option 2 – Creating a Highly Available VM from Scratch
Assuming you want to create a highly available VM from scratch, you can complete this entire process from the Hyper-V Virtual Machine Manager as shown below. This step assumes that you have already created a mirror of the E drive using DataKeeper as described in Configuring the DataKeeper Volume Resource section.
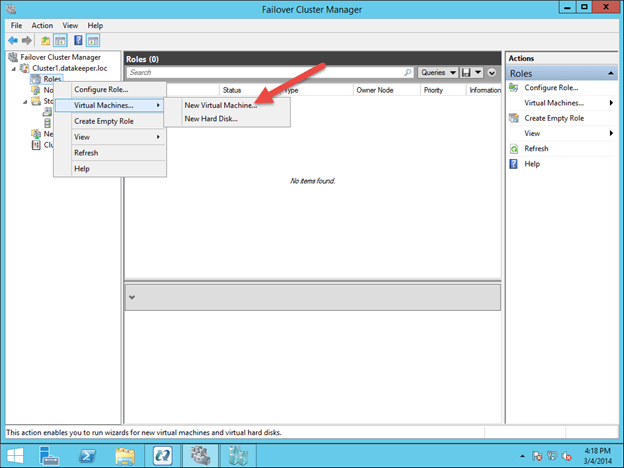
To get started, open the Failover Cluster Manager and right click on Roles and choose Virtual Machine – New Virtual Machine.
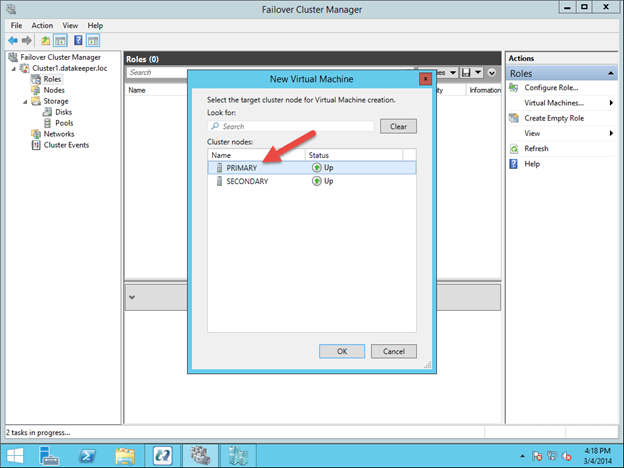
Follow through with the steps of the wizard and select the options that you want to use for the VM. When choosing where to place the VM, select the cluster node that currently is the owner of Available Storage, which will also be the source of the mirror.
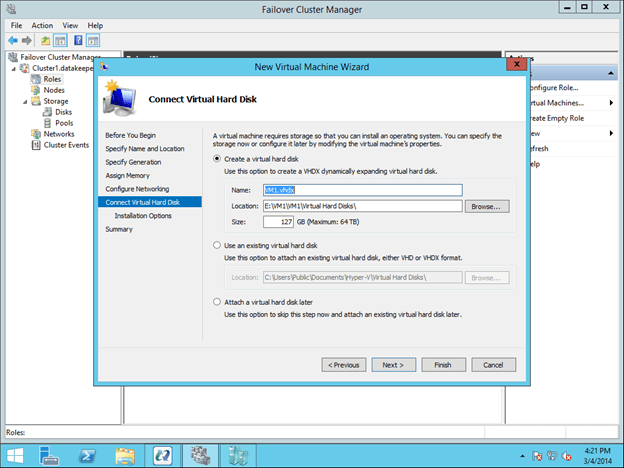
Make sure when specifying the Name and Location of the VM, you select the location of the replicated volume.

The rest of the options are up to you. Just make sure the VHD file is located on the replicated volume.

You will see the highly available VM is created, but there is a warning about the storage. You will need to add the DataKeeper Volume Resource to the VM Cluster Resource Group as shown below.
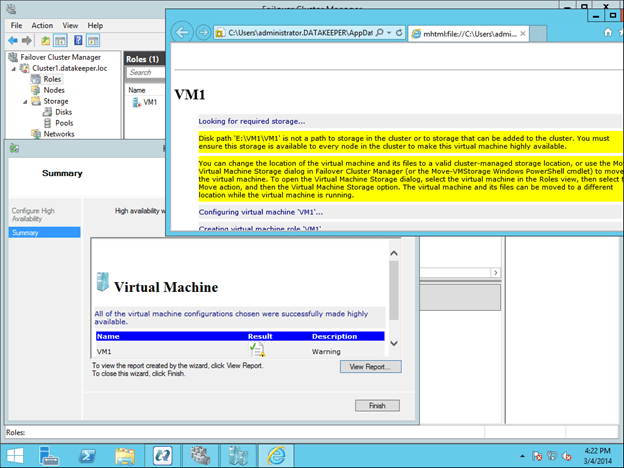
After the DataKeeper Volume is added to the VM Cluster Resource Group, you will need to add the DataKeeper Volume as a dependency of the Virtual Machine Configuration resource.
You now have a highly available virtual machine.
Summary
In this blog post we discussed what constitutes a #SANLess cluster. We discussed how DataKeeper Cluster Edition can be used to build a highly available Hyper-V cluster without the use of a SAN. Once built, the cluster behaves exactly like a SAN based cluster, including having the ability to do Live Migration, Quick Migration and automated failover in the event of unexpected failures.
A #SANLess cluster eliminates the expense of a SAN as well as the single point of failure of a SAN. DataKeeper Cluster Edition supports multiple nodes in a SAN, so configurations that stretch both LAN and WAN are all possible solutions for Hyper-V high availability and disaster recovery. DataKeeper supports any local storage, opening up the possibility of using high speed local attached SSD or NAND Flash storage for high performance without giving up high availability.
