So you just download the bits for Windows Server 8 Beta and you are anxious to try out all the great new features including Windows Storage Spaces, Continuously Available Fail Servers and Hyper-V Availability. Many of those new features are going to require you become familiar with Windows Server Failover Clustering. In addition, things like Storage Spaces are going require that you have access to additional storage to simulate JBODS. Windows iSCSI Target Software is a great way for you to provide storage for Failover Clustering and Spaces in a lab environment so you can play around with these new features.
This Step-by-Step Article assumes you have three Windows Server 8 servers running in a domain environment. My lab environment consists of the following:
Hardware
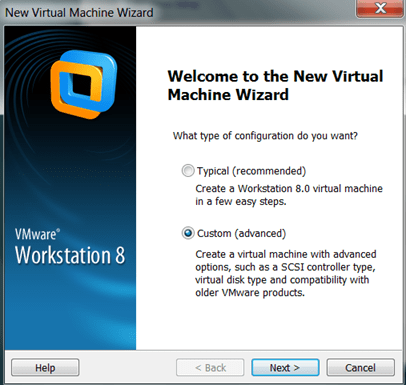
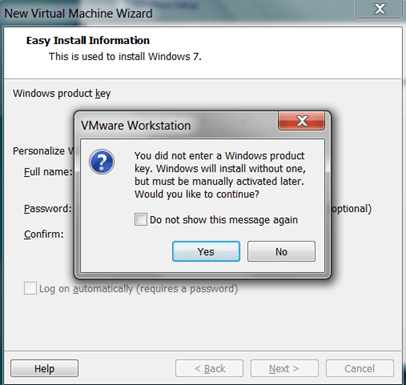
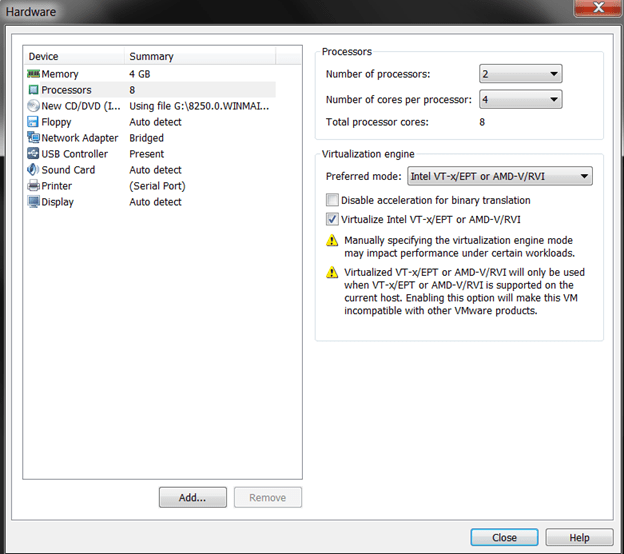
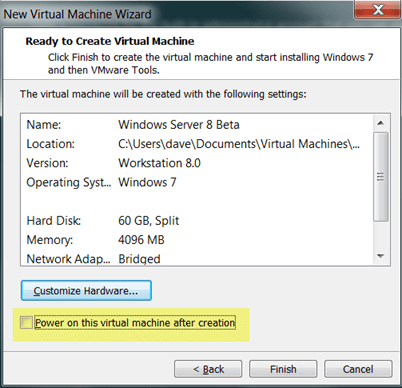
My three servers are all virtual machines running on VMware Workstation 8 on top of my Windows 7 laptop with 16 GB of RAM. See my article on how to install Windows Server 8 on VMware Workstation 8.
Server Names and Roles
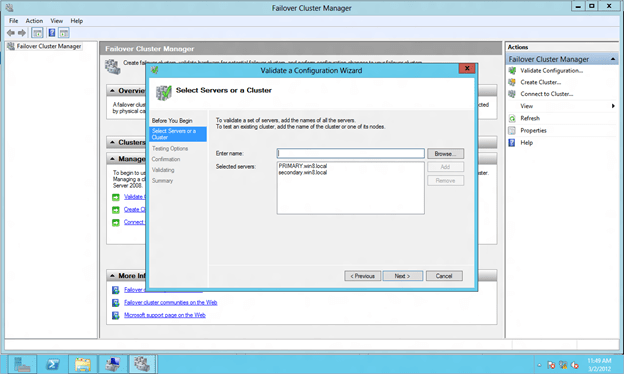
PRIMARY.win8.local – my cluster node 1
SECONDARY.win8.local – my cluster node 2
WIN-EHVIK0RFBIU.win8.local – my domain controller (guess who forgot to rename his DC before I promoted it to be a Domain ControllerJ)
Network
192.168.37.X/24 – my public network also used to carry iSCSI traffic
10.X.X.X /8– a private network defined just between PRIMARY and SECONDARY for cluster communication
This article is going to walk you through step-by-step on how to do the following:
- Install the iSCSI Target Role on your Domain Controller
- Configure the iSCSI Target
- Connect to the iSCSI Target using the iSCSI Initiator
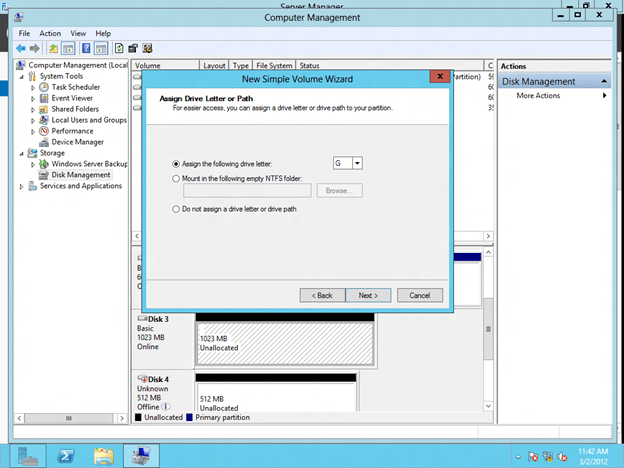
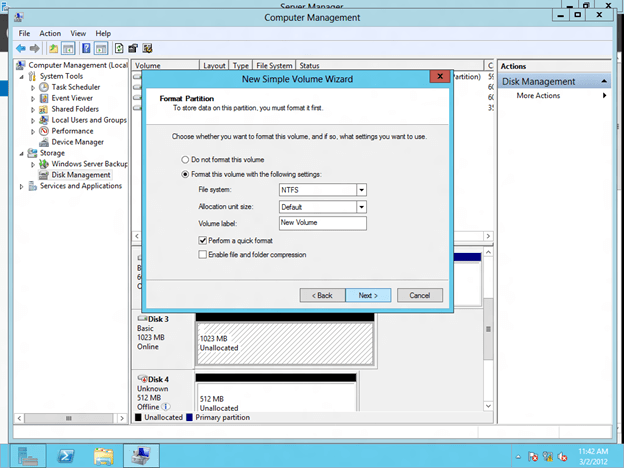
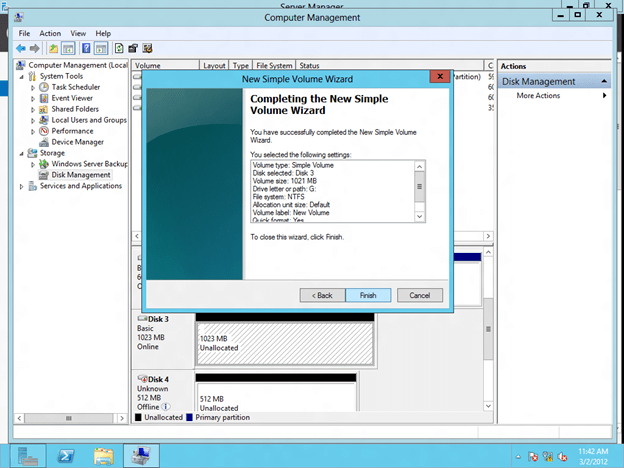
- Format the iSCSI Target
- Connect to the shared iSCSI Target from the SECONDARY Server
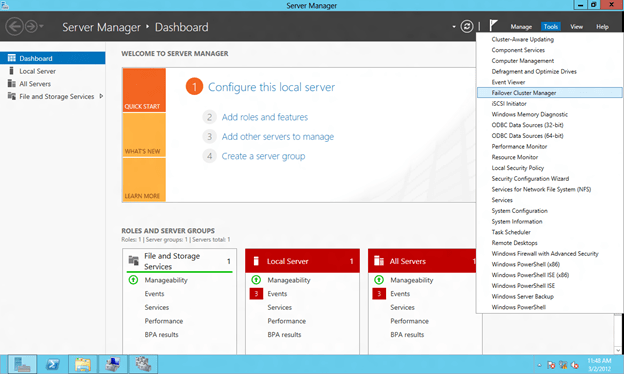
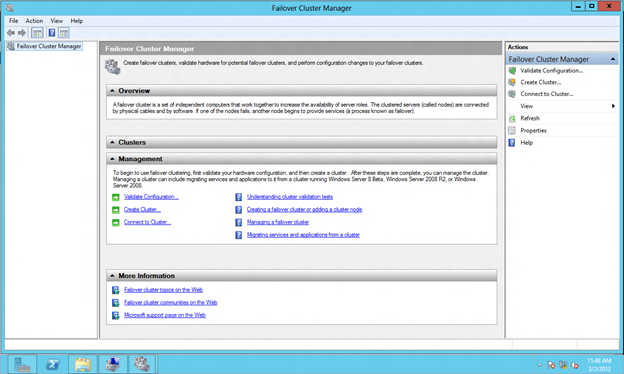
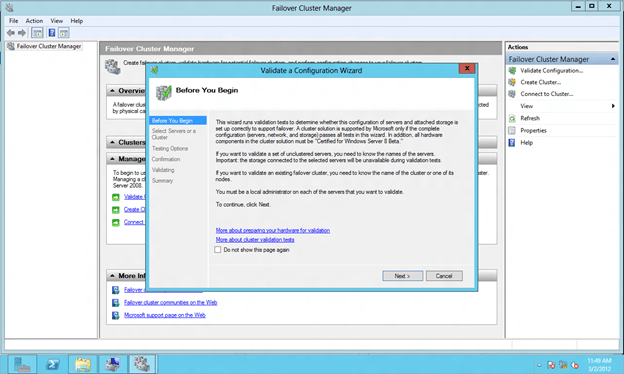
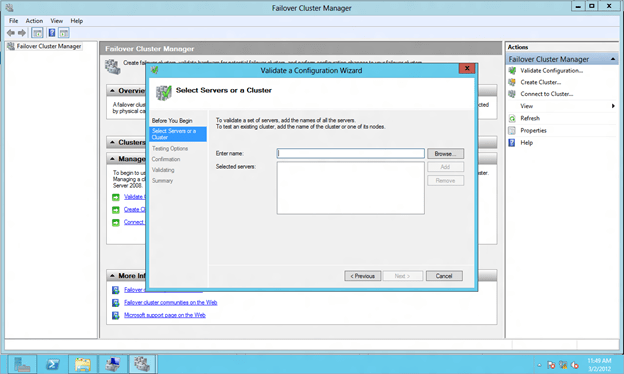
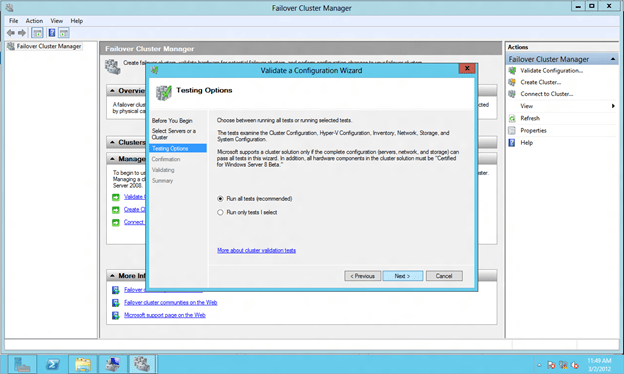
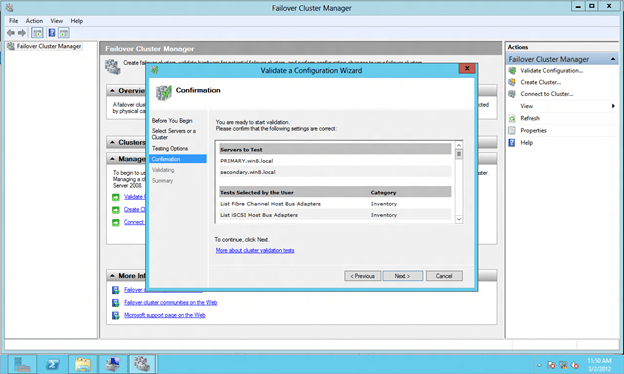
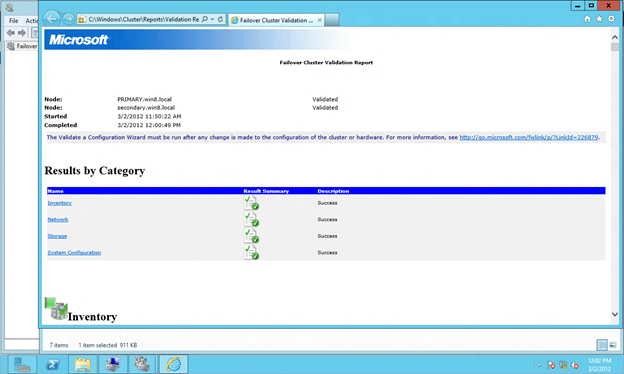
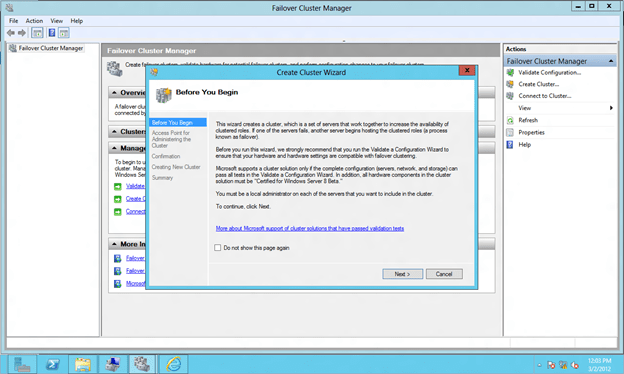
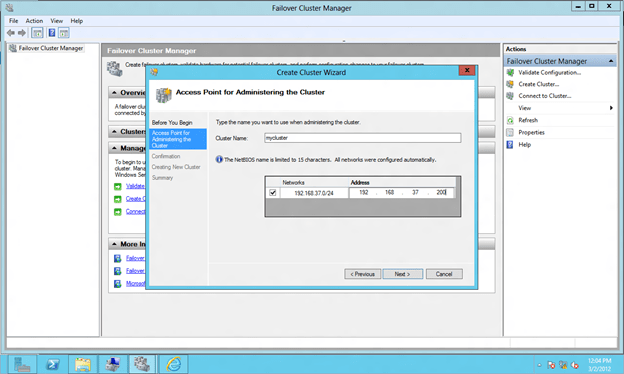
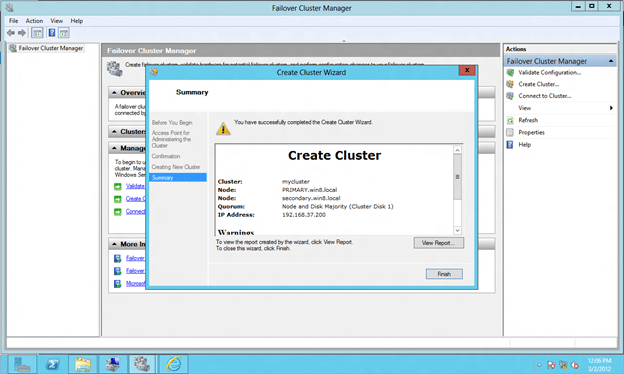
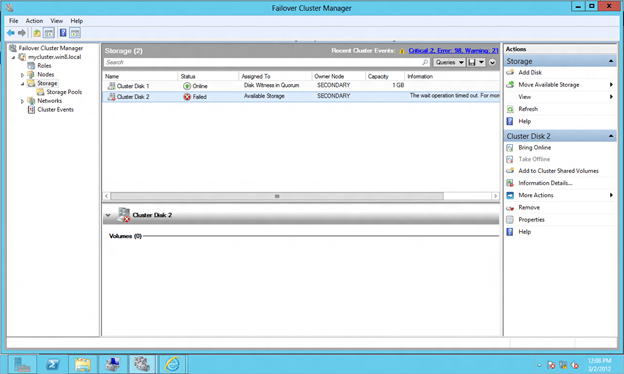
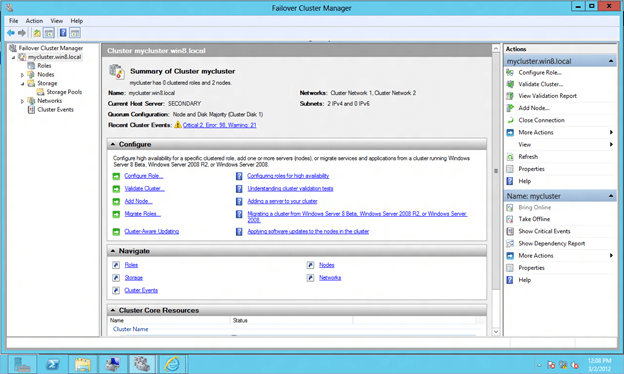
- Configure Windows Server 8 Failover Clustering
The article consist mostly of screen shots, but I also add notes where needed.
Install the iSCSI Target Role on your Domain Controller
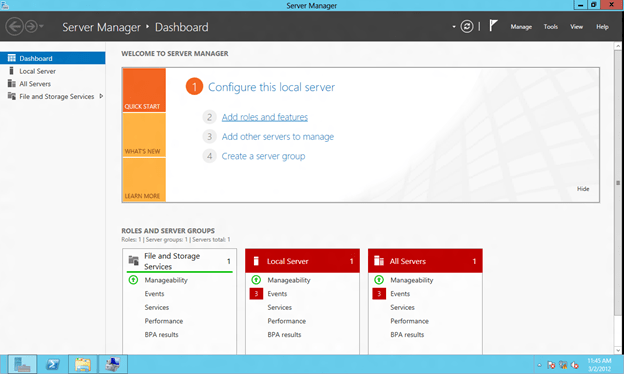
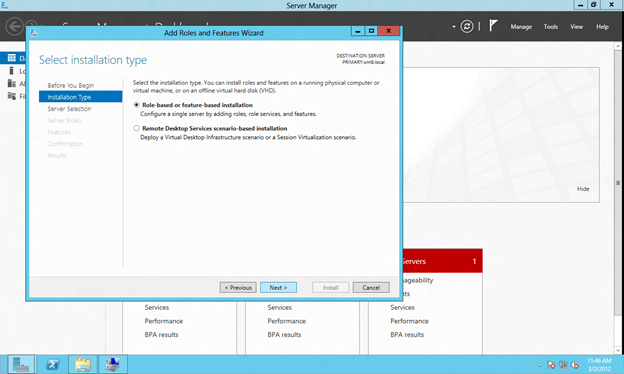
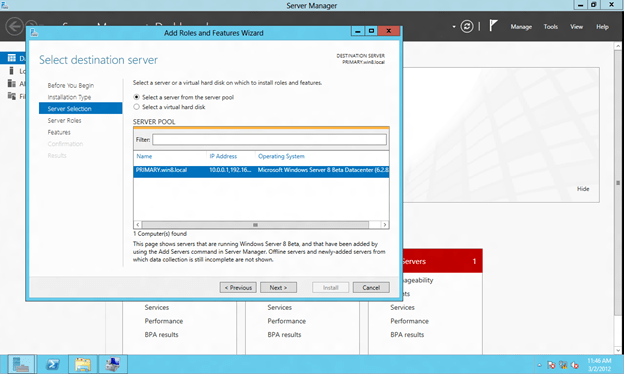
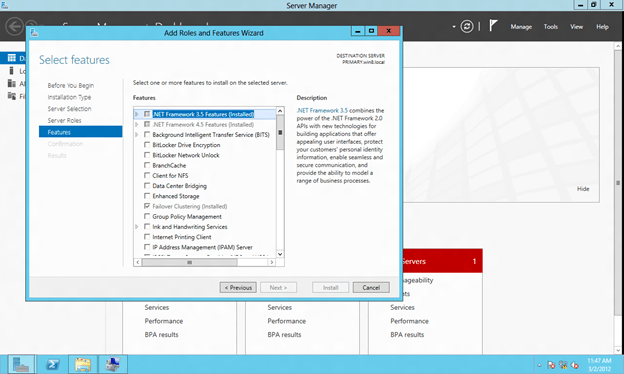
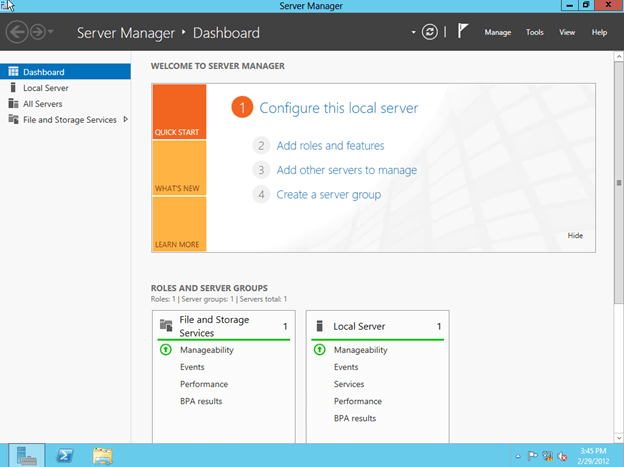
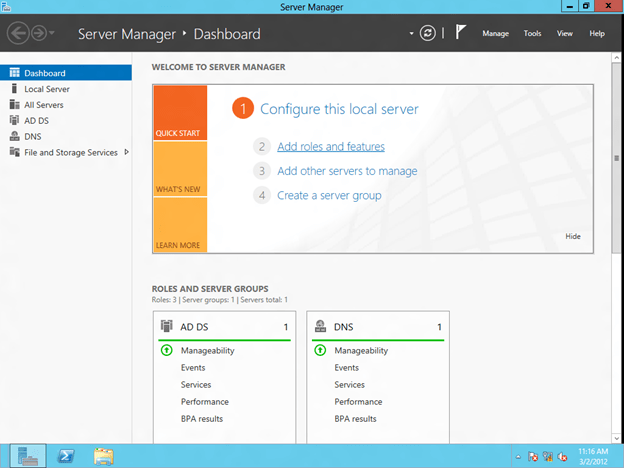
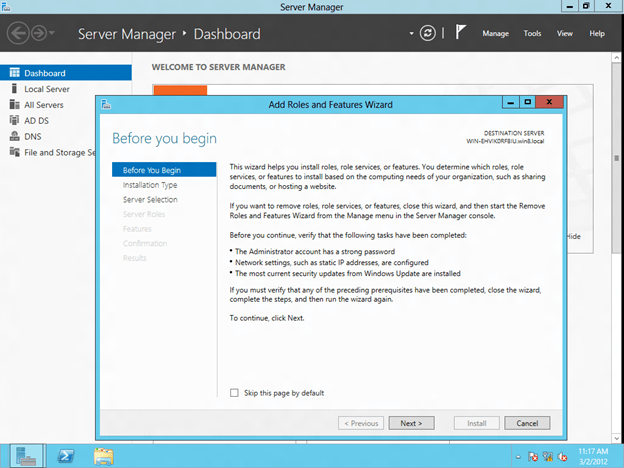
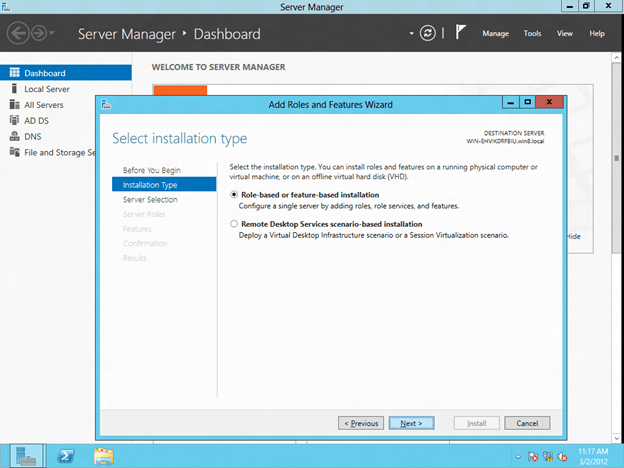
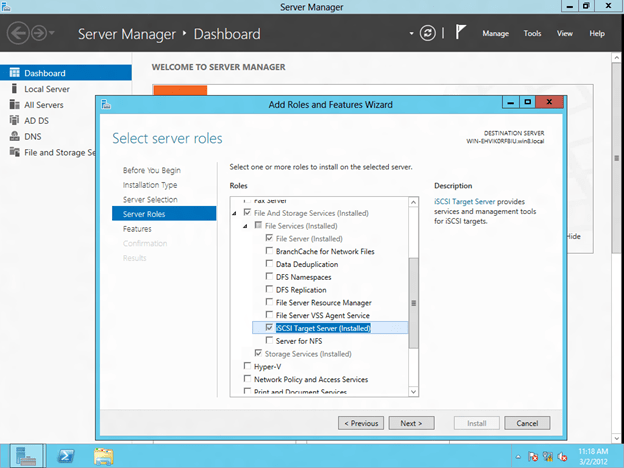
Click on Add roles and features to install the iSCSI target role.
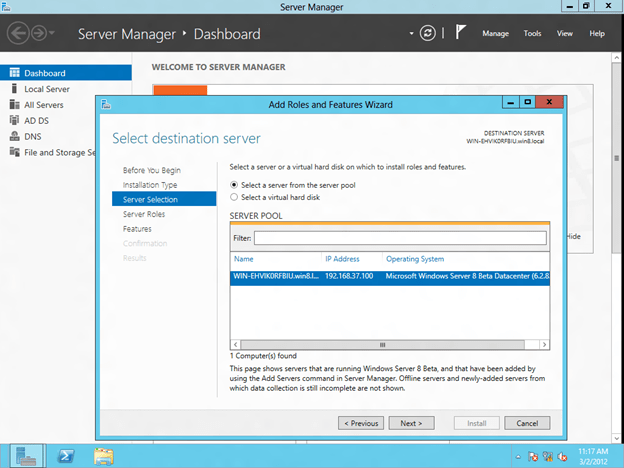
You will find that the iSCSI target role is a feature that is found under File And Storage Servers/File Services. Just select iSCSI Target Server and click Next to begin the installation of the iSCSI Target Server role.
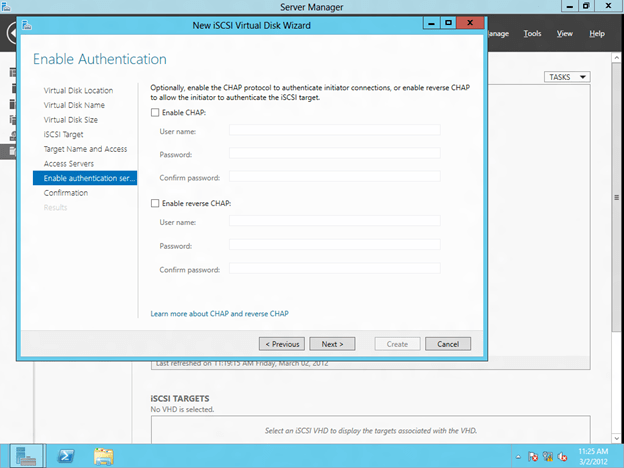
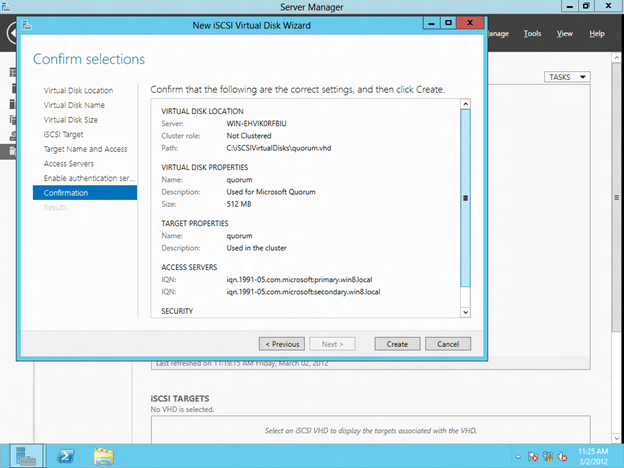
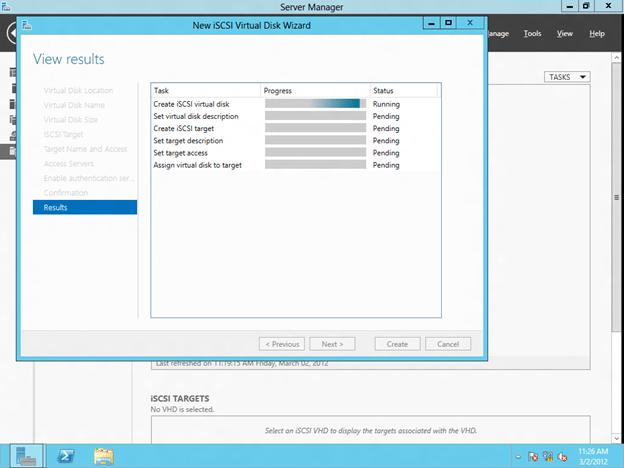
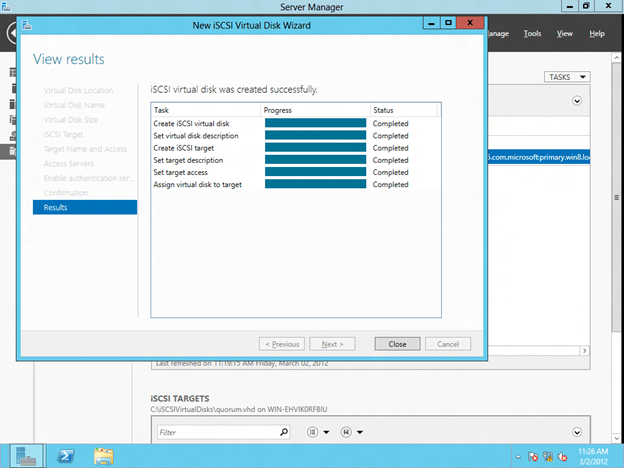
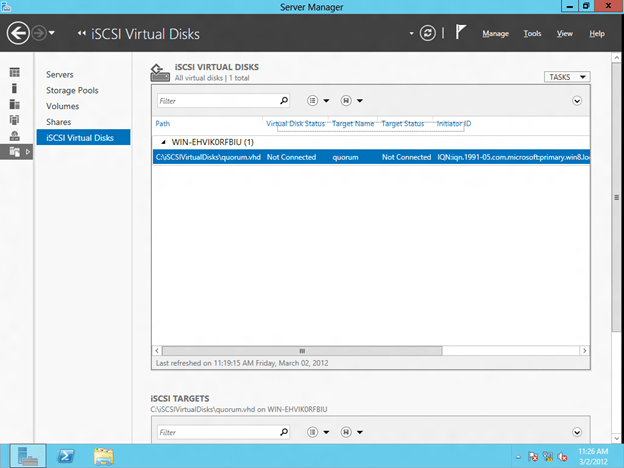
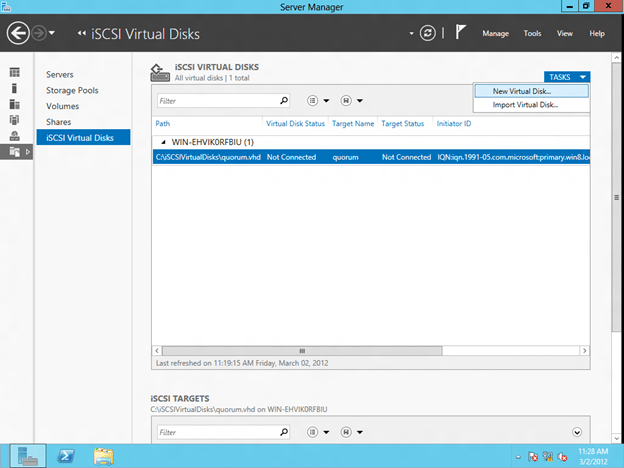
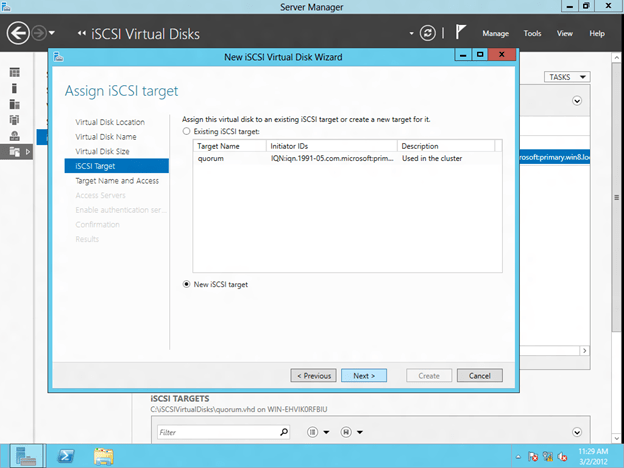
Configure the iSCSI Target
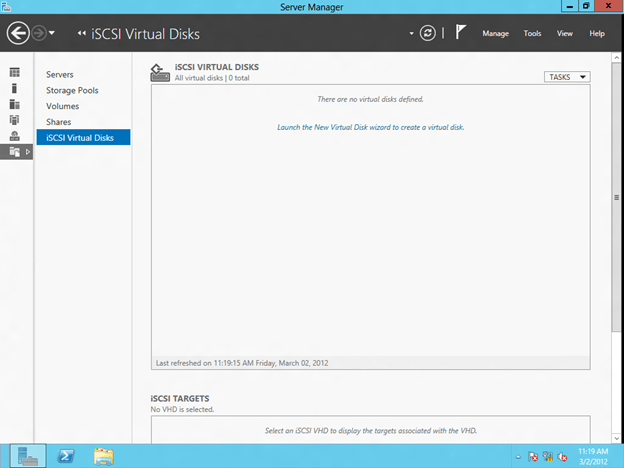
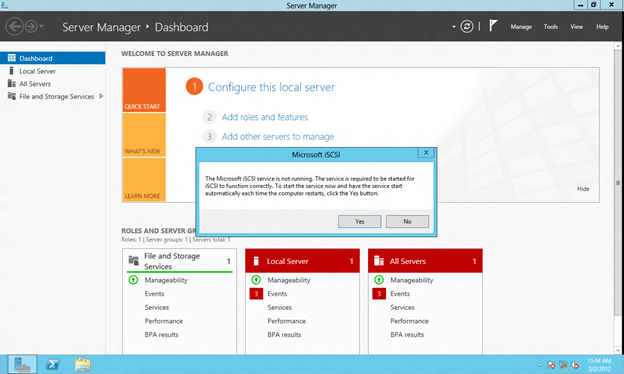
The iSCSI target software is managed under File and Storage Services on the Server Manager Dashboard, click on that to continue

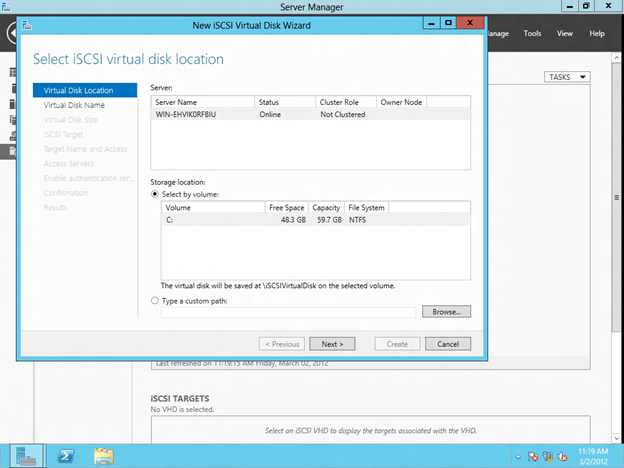
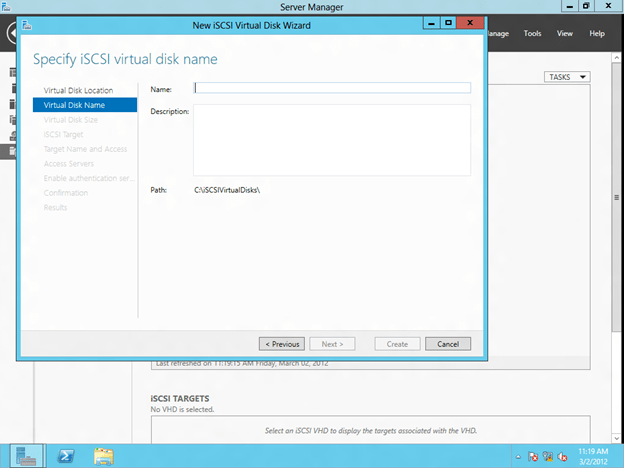
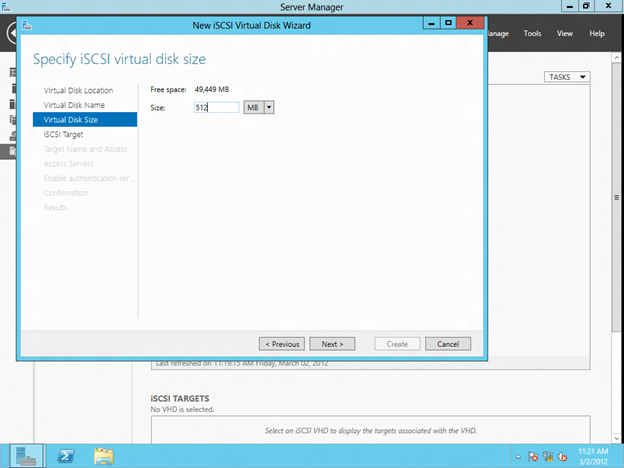
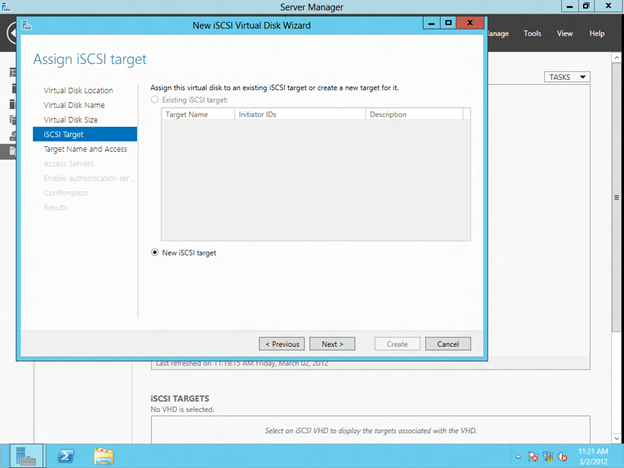
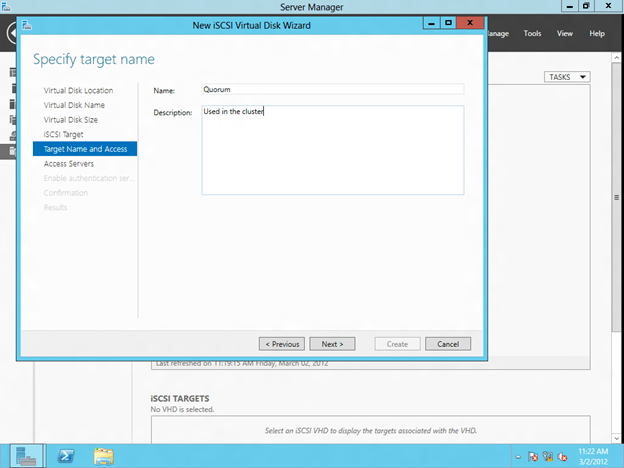
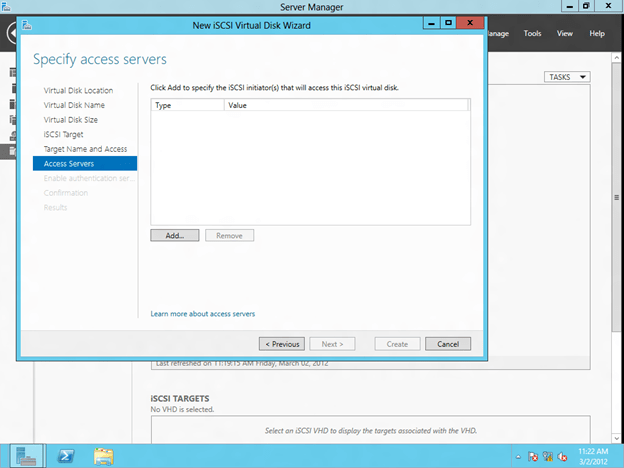
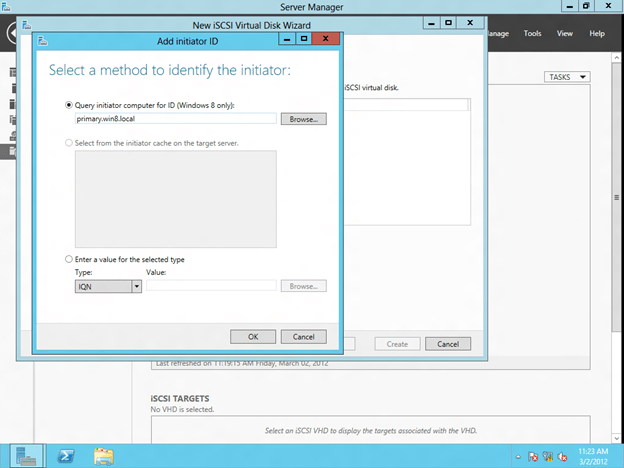
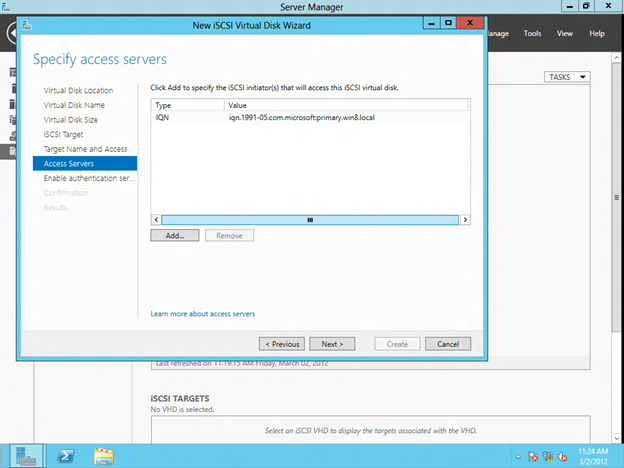
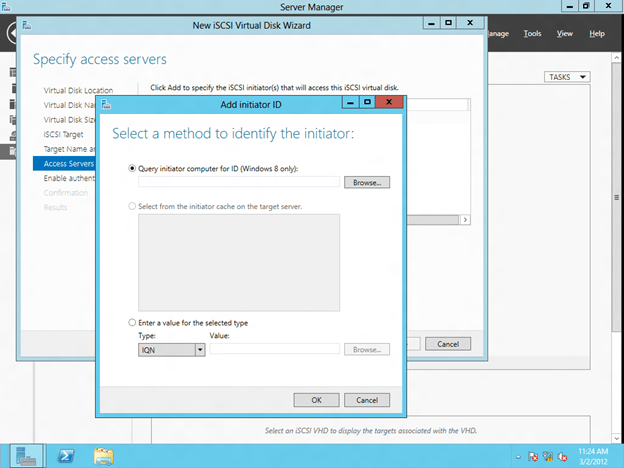
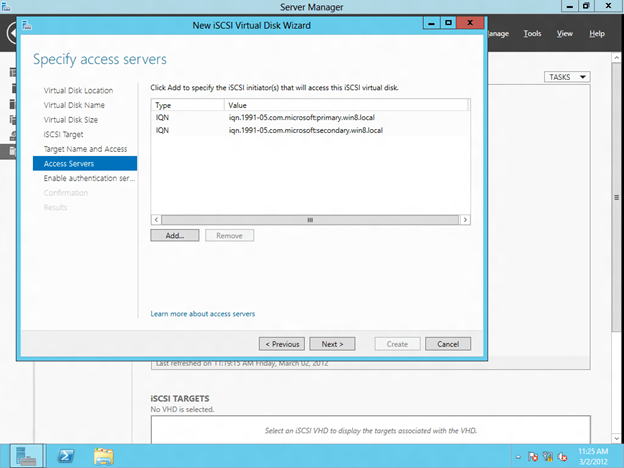
The first step in creating an iSCSI target is to create an iSCSI Virtual Disk. Click on Launch the New Virtual Disk wizard to create a virtual disk.

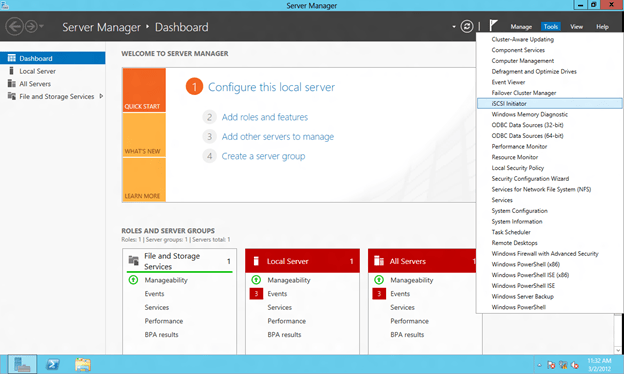
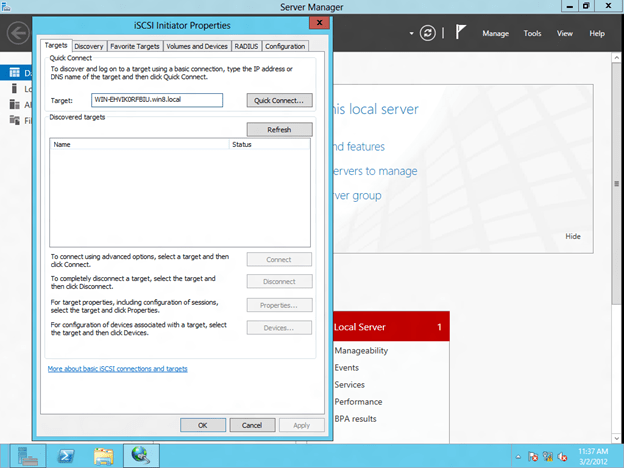
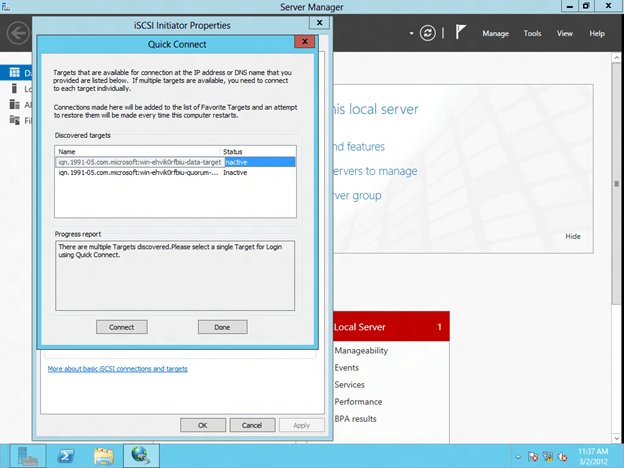
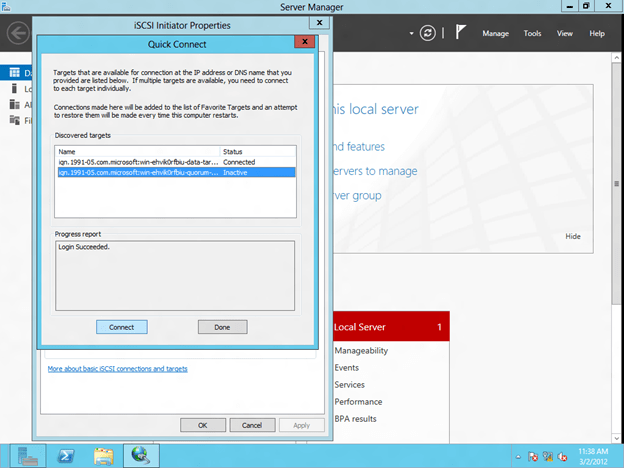
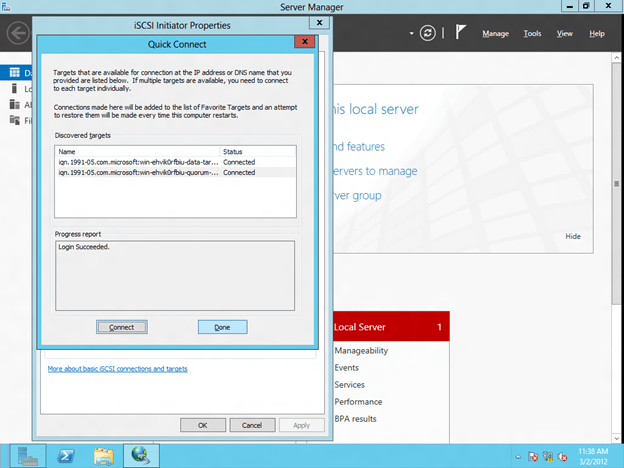
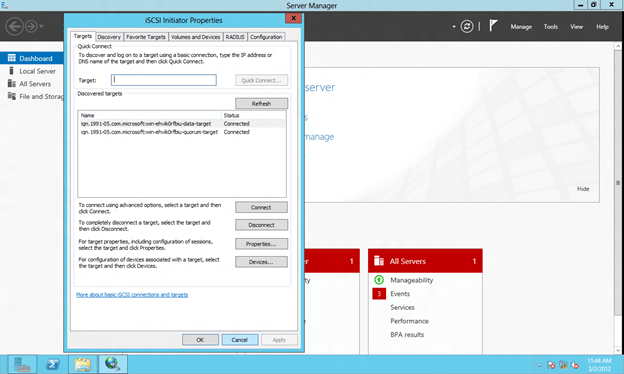
Connect to the iSCSI Target using the iSCSI Initiator
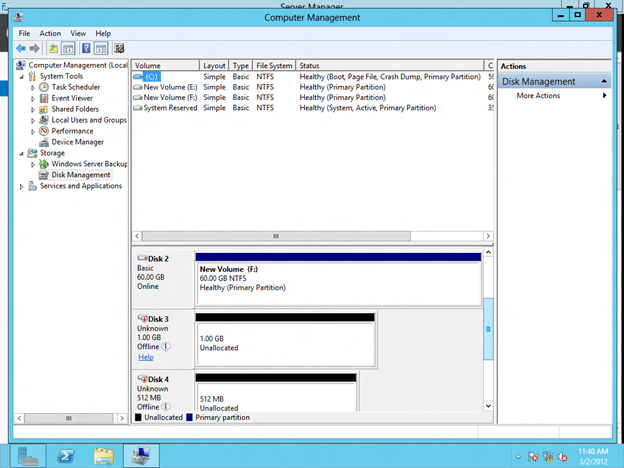
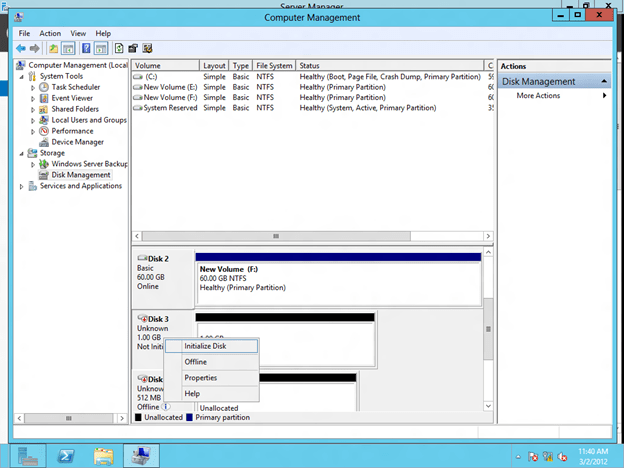
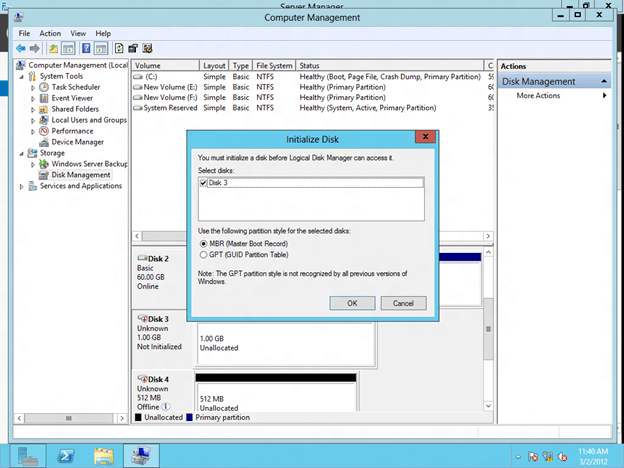
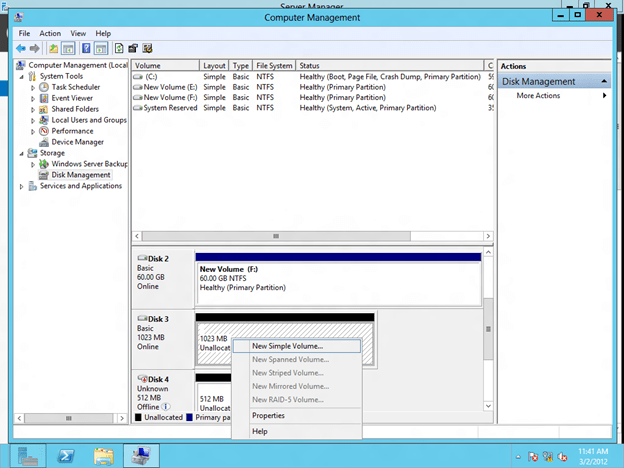
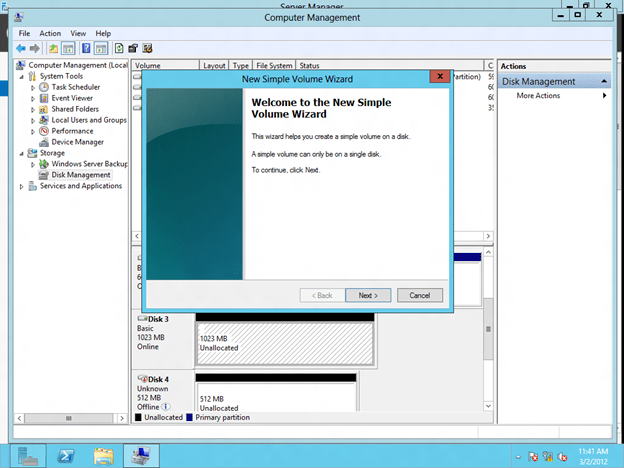
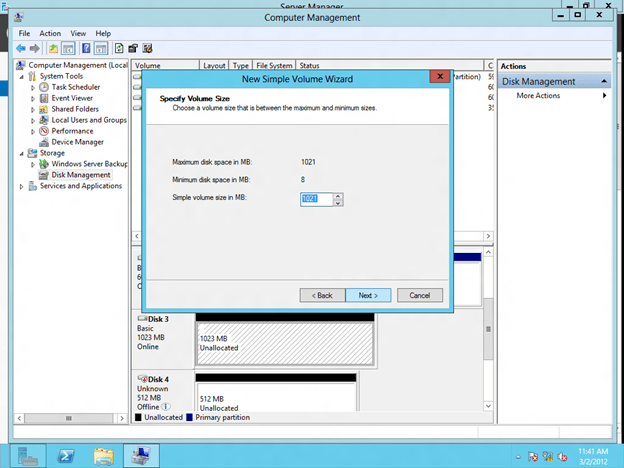
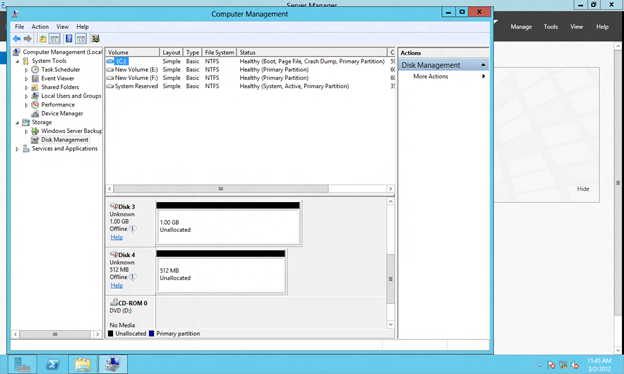
Format the iSCSI Target
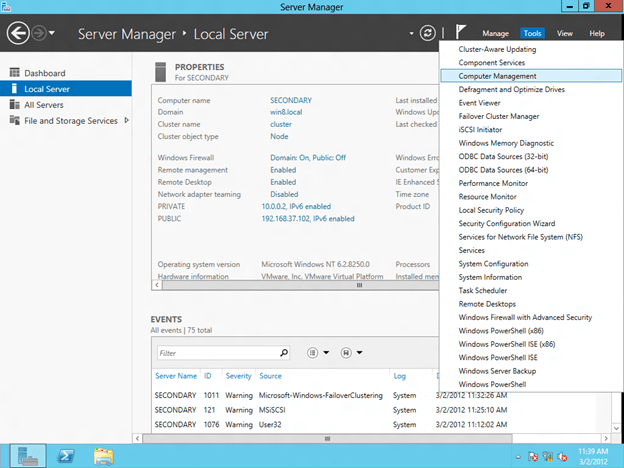

Connect to the shared iSCSI Target from the SECONDARY Server

Configure Windows Server 8 Failover Clustering