In my previous post I walked through the process of building a 2-node cluster up to the point where we are ready to start configuring the cluster resources. If you have completed those steps you are ready to move on and actually create your clustered application. First up, we have SQL Server 2012. SQL Server 2012 cluster installation is pretty much identical to SQL 2008/2008 R2 cluster installations, so most of this will apply even if you are using SQL 2008/2008 R2. The terminology around SQL Server 2012 Clustering gets a little convoluted. You will hear mention of SQL Server AlwaysOn, which essentially could mean one of two different things: AlwaysOn Availability Groups or AlwaysOn Failover Cluster Instance. The confusion arises because both solutions require some level of integration with Windows Server Failover Clustering and it is even further confused by the fact that you can deploy a combination of AlwaysOn Availability Groups and AlwaysOn Failover Clustering, but that is a topic for another day!
I’ll break it down in easy to understand terms. Essentially AlwaysOn Availability Groups is what used to be called Database Mirroring in SQL 2008 R2 and earlier. It has some new bells and whistles that overcome some of the limitations of earlier versions of database mirroring, so it is certainly worth checking it out. AlwaysOn Failover Cluster Instance is simply what used to be called a SQL Server Failover Cluster. This is the latest edition of the same clustering technology that has been available since early versions of SQL Server. One of the best new features of SQL Server 2012 AlwaysOn Failover Cluster Instance is the ability to have nodes in different subnets. This was a major limitation in earlier versions of SQL Server. In a previous blog entry I discussed some of the limitations of AlwaysOn Availability Groups, you should check that out before you make any decisions on which technology to deploy.
With that said, this article is going to focus on the Step-by-Step instructions on deploying a SQL Server 2012 AlwaysOn Failover Cluster Instance.
Step 1 is to make sure your cluster storage is ready. If you followed the instructions in my previous post, you will know that instead of a shared disk resource, we are going to use a replicated disk resource using the 3rd party software DataKeeper Cluster Edition. If you are using shared storage and have added the storage than you can skip right to Step 2 where we begin the SQL install. Otherwise, follow the steps below to configure DataKeeper Cluster Edition to replicate the local disks for use in a SQL cluster.
-
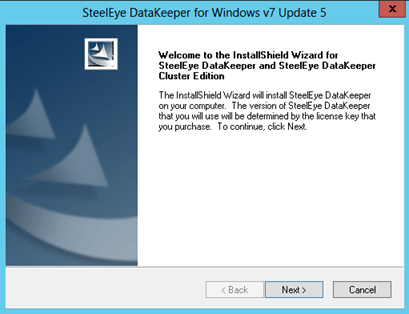
Install and configure DataKeeper Cluster Edition
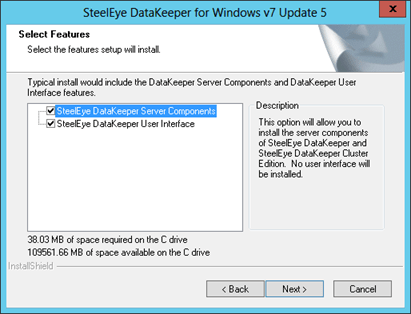
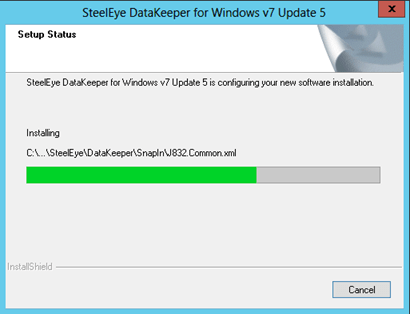
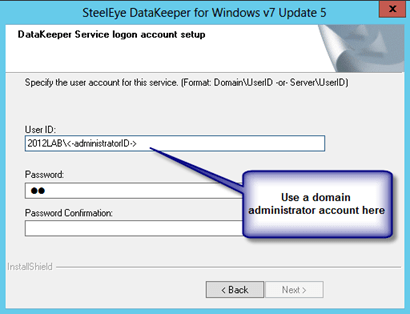
- Run DK Setup

- Go through the entire installation process selecting all of the default values.


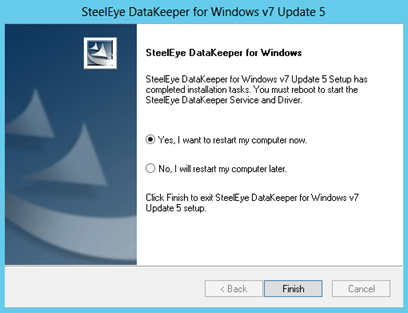
- Restart the computer after the installation completes as prompted and repeat the process on the SECONDARY server
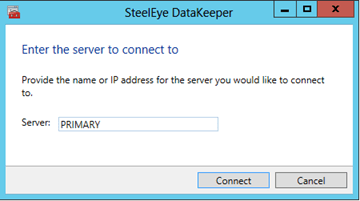
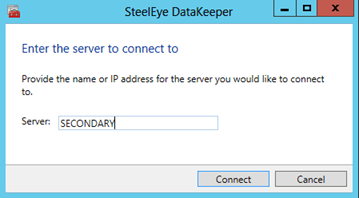
- Launch the DataKeeper UI on PRIMARY and click Connect to Server. Connect to PRIMARY and then connect to SECONDARY

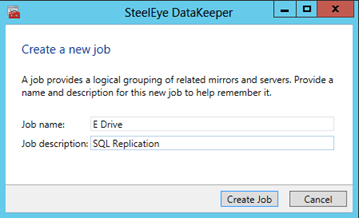
- Click on Create Job and walk through the Create Job wizard to create a mirror of the E drive

Choose the source volume of the mirror and the IP address of the NIC that will carry the replication traffic.
Choose the target of the mirror and click Next
Here you will choose your mirror options:
Compression – only enable for replication across a WAN
Asynchronous – choose this for all WAN replication
Synchronous – this is ideal for LAN replication
Maximum bandwidth – used in WAN replication as a way to put a cap on the amount of bandwidth replication is allowed to use. Generally it should be left on 0, however for initial mirror creation you may want to limit the bandwidth so replication does not use all available bandwidth to do the initial synchronization
Once you click Done the mirror will be created.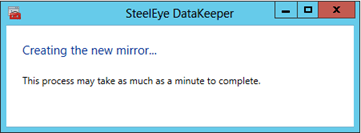
Once the mirror is created you will be prompted to register the volume in Windows Server Failover Clustering (WSFC). Click Yes and a new DataKeeper Volume Resource will be registered in Available Storage (see picture in Step 2).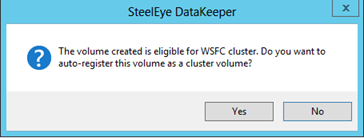
- Run DK Setup
-
In Step 2 we are going to begin the installation of SQL Server 2012 on the first cluster node.
- Before we begin, make sure your storage appears in Failover Cluster Manager and is assigned to the Available Storage group as shown below

- At this point we are going to launch the SQL Server 2012 setup and go to the Installation Tab and click New SQL Server failover cluster installation

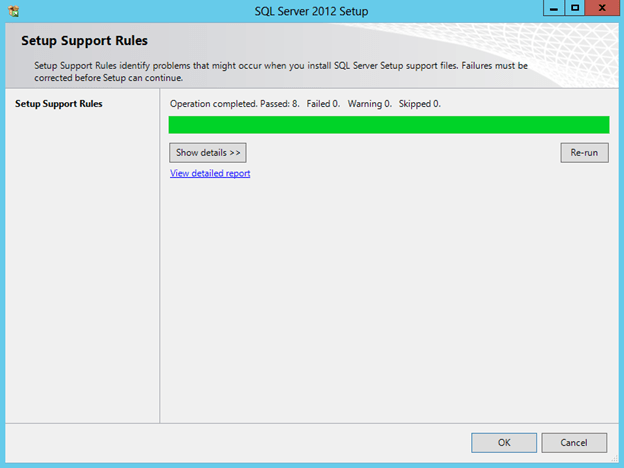
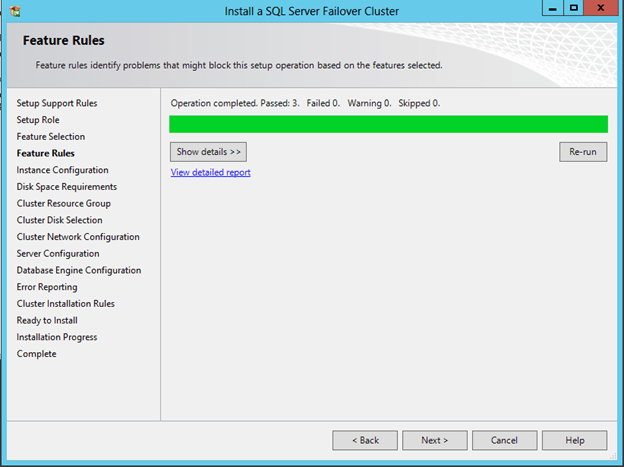
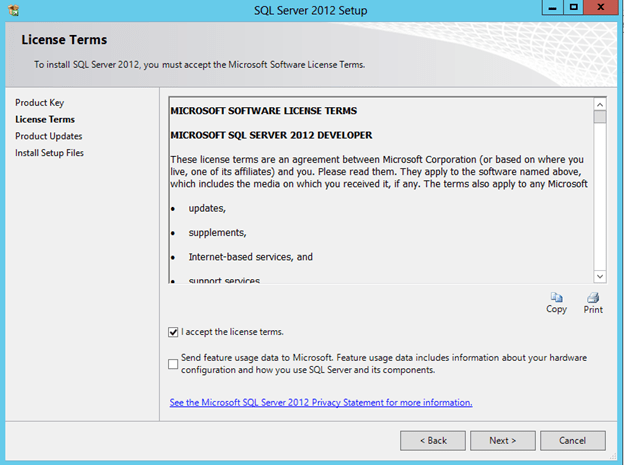
- Step through the installation as shown in the following screen shots.


The following error is expected if your servers are not connected to the internet. If you are connected to the internet you should go ahead and accept the updates it finds.


For Service Account best practices read the following: http://msdn.microsoft.com/en-us/library/ms143504.aspxFor our lab purposes I am just using the Administrator account


Before you click next, click on the Data Directories tab and change the location of tempdb. With Windows Server 2012 tempdb no longer has to reside on the cluster storage. In our example we are moving tempdb to the C drive to avoid replicating unnecessary data.

At this point you will need to make sure to create the same tempdb directory on the SECONDARY server as advised by the warning.


Congratulations, the 1st cluster node has been installed.
- Before we begin, make sure your storage appears in Failover Cluster Manager and is assigned to the Available Storage group as shown below
-
We are now ready to install SQL on the second node of the cluster.
- Go to the SECONDARY server and launch the SQL Server 2012 Setup and follow the wizard as shown in the following screen shots, starting with clicking on Add node to a SQL Server failover cluster.


The following error is expected if your servers are not connected to the internet. If you are connected to the internet you should go ahead and accept the updates it finds.


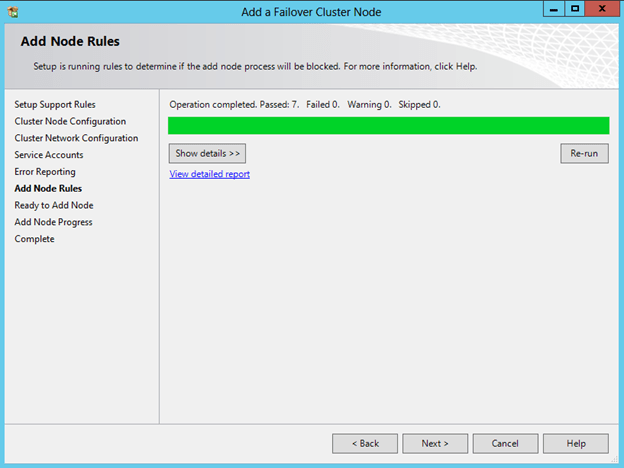


- Go to the SECONDARY server and launch the SQL Server 2012 Setup and follow the wizard as shown in the following screen shots, starting with clicking on Add node to a SQL Server failover cluster.
- Congratulations – you have built a 2-node SQL Server 2012 AlwaysOn Failover Cluster Instance. Open up Failover Cluster Manager and you should see something that looks like this.

This article was meant to be just a quick run through on how to install SQL 2012 in a Windows Server 2012 cluster. For additional reading start here and let Google be your friend!

[…] Clustering SQL Server 2012 on Windows Server 2012 Step-by-Step, Part II […]
I had tried to make a failover cluster but he error show dc is not valid it’s error of ip or what
You might get quicker help publishing on the Microsoft cluster forums. What is the exact error?
Clustering SQL Server 2008 R2 on Windows Server 2012 Step-by-Step..can you please share me that link.
thanks
Rohan
Hi! I’d like to ask. I am going to add a second node to an existing cluster. For your steps above in adding second node, do I need to pre-install SQL server on the second node or it will be installed when I will do the steps above?
Thank you! in advance
You will install SQL as part of the cluster installation.