I’m pretty excited that I was able to get Windows Server 8 up and running on my laptop today. I wasn’t really looking forward to having to boot from VHD just to check out some of the features. I really wanted to run multiple copies of Windows Server 8 at the same time so I could check out some of the cool new clustering features, so once again, booting my laptop from a VHD really wasn’t going to give me the experience I needed. I do have some servers running Hyper-V that would have been fine, but I really like having something quick and easy on my laptop that I can fire up anywhere at any time. VMware Workstation has been my go to virtualization platform for my Windows 7 laptop for quite some time due to the lack of a real client based hypervisor alternative from Microsoft.
When I downloaded the Windows Server 8 Developer Preview Edition from MSDN earlier this week I was assuming I was getting an installation ISO. What I discovered was that I actually downloaded a pre-installed VHD. I haven’t gone back yet to check to see if there is an ISO, but from reading the blogs it appears there is an ISO available somewhere, so I probably just grabbed the wrong file. Without a Hyper-V player available for Windows 7 (well, maybe VirtualBox?), I decided to get really crazy and try out the free Starwind V2V Converter and turn it into a bootable VMDK file so I could launch it in VMware Workstation.
I found the Starwind V2V Converter to be very straight forward and soon enough I had a VMDK file ready to launch in VMware Workstation. What I soon found out was that you cannot run Windows Server 8 Developer Preview in VMware Workstation 7; you need the newly released Workstation 8. In VMware Workstation you get a message that begins as follows…
*** VMware Workstation internal monitor error ***
vcpu-0:NOT_IMPLEMENTED vmcore/vmm/intr/apic.c:1903
So, I went ahead and upgrade to Workstation 8 and tried to turn on the converted VMDK file. At first I got a message about hardware being changed and the VM would not start, but after I adjusted the processor so that it match the processor that I have (1 CPU, 2 Core) the VM launched! One other setting you need to make sure to set right is the operating system version. Since Windows 8 is not an option yet, choose Windows 7. Windows 7 x64 doesn’t work – make sure you choose Windows 7!

I tried to install the VMware tools, but that didn’t work out so well for me as I simply got a black screen with a pointer after the tools were installed. Until they come out with VMware tools specific for Windows 8 I would avoid installing the VMware tools for the time being.
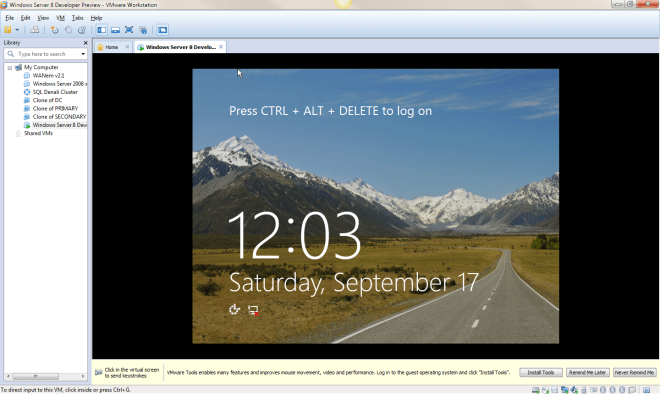
Here is my first view of Windows 8. I’ll be writing more about the HA features and Hyper-V next week once I start poking around J

For me, VMWare tools installed correct on Windows 8.
I got the same black screen on Windows 8 Server, this is what is shown on the black screen:
“Complete activation now”. Your PC is not yet activated. Go to the Control Panel to complete activation.”
I can’t find out a way to get to control panel…
Thanks for the tip! I’ll try this once my new laptop arrives, i7, SSD, 16 GB RAM, it will be sweeeet!
When installing the VMware Tools on Windows Server 8 Developer Preview, choose custom install and then disable the SVGA video driver under the drivers section. This will prevent the black screen problem you describe. I have not found a way to to fix this after the fact – so in my case I had to start fresh with a new VM and trash the “black screened” version.
Install VMware tools but ensure that enable 3d Graphics Acceleration is enabled within the VM configuration. I know – odd for a server….. but must be related to Metro
Hey, thanks for the tip – it works!
A few other things I have run into…
– adding additional NICs seems to be buggy. Many time’s I tried to add a NAT only or VM only NIC and it wound up being a bridged NIC. Playing around I can usually get it to behave but if you want a customer NIC try using something other than the default VMNet0 network, I finally got it to work on VMNet3.
– I don’t always get the “Search” to appear when clicking on the start menu.
– Easiest way to manage is to create your own MMC on your desktop and add all the tools you want.
– I couldn’t add an iSCSI disk, I had to use IDE when adding another hard drive.
Figured out the search thing. You have to put your curson on the very bottom left hand corner of the Start menu. I’m sure that is documented somewhere 🙂
Both Windows Server 8 (released in 2012) and VMware Workstation 8 (released in 2011) are extremely outdated. Microsoft no longer supports these products, and they might have security vulnerabilities.
Of course, but did you see this post was from 2011?
@daveberm …. wow a 15 year old post and a reply. That’s got to be some sort of record ! Wondered why it appeared in my mailbox 🙂